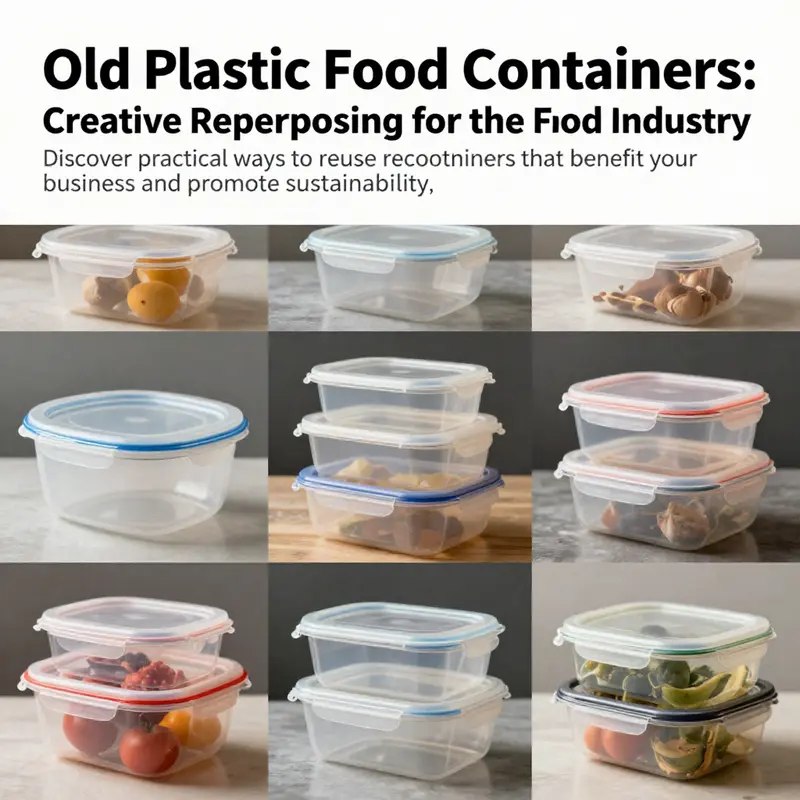
In a world increasingly focused on sustainability, repurposing old plastic food containers presents a unique opportunity for businesses in the food industry. Wave goodbye to waste and welcome a world of creativity! Whether you’re a bubble tea shop, a restaurant, or a food truck, you can turn those old containers into practical solutions that enhance your operations and showcase eco-consciousness. Each chapter explores innovative uses—from organizing supplies to starting indoor gardens, creating pet food stations, engaging in DIY projects, and even ways to donate or sell unused containers. By the end of this article, you’ll be equipped with valuable insights on how to give those containers a second life effectively and sustainably.
From Clutter to Clarity: Transforming Old Plastic Food Containers into Thoughtfully Designed Organizers
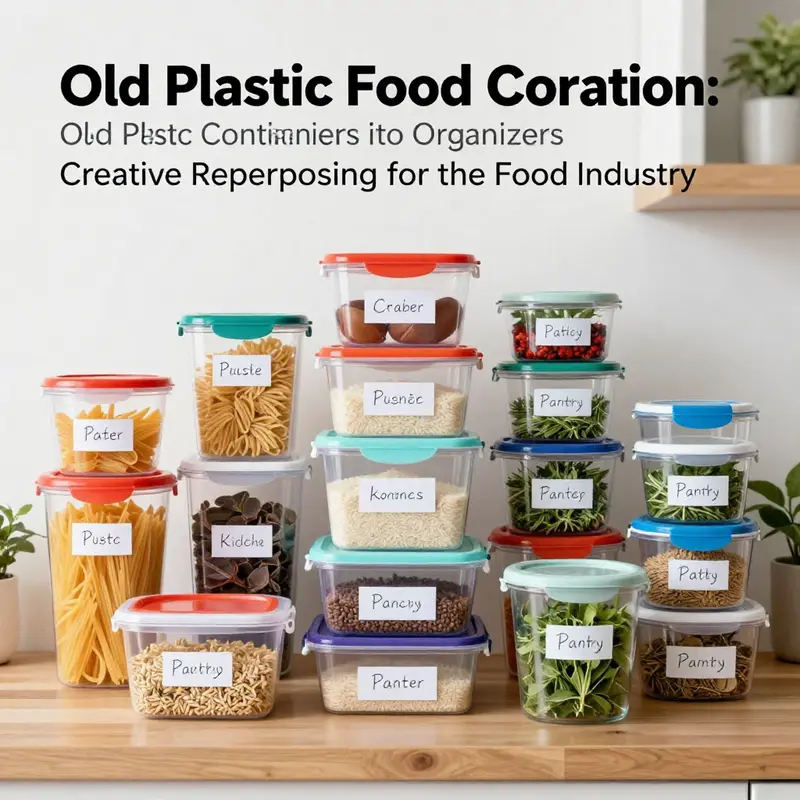
When a kitchen drawer overflows with mismatched lids and a shelf hides a chorus of empty plastic containers, it’s easy to see only waste. Yet these same objects carry a quiet potential that many people overlook: the chance to become organizers, tools for daily flow, and small acts of environmental responsibility all rolled into one. This is not a treatise about buying new storage solutions, but a practical invitation to reimagine what you already own. The idea is simple, but its impact can be surprisingly large. Repurposing old plastic food containers into organizers turns waste into function, clutter into calm, and a chaotic space into an orderly system that actually supports the way you live. The transformation begins with a shift in perspective: containers are not binary trash or treasure; they are raw materials that, with a little care and creativity, can perform new tasks with a surprising range of usefulness.
Begin with a sense of respect for the material you’re repurposing. Plastic that has housed food is not inherently dangerous, but it carries a history—of moisture, odors, and the everyday wear that comes from a busy kitchen. The first step is to clean and inspect with eye and nose as your guides. Look for cracks, warping, or persistent odors that linger after washing. If any of these signs appear, the container should be set aside for recycling rather than repurposing. The goal is to create something that remains practical and safe for its new role. For containers that show no signs of degradation, you can begin to imagine their next life as a storage solution rather than a discarded item.
One of the most reliable paths from container to organizer is the pull-out concept. Take stock of a large plastic bottle or jug that once held liquids, and consider how its form can serve a new purpose. A small opening can become a foot-level chute for pulling out plastic bags, a simple page of ingenuity that keeps the kitchen counter tidy. A hinged or flat-bottomed design can be inverted and mounted under a cabinet, allowing used bags to slide out as needed. The result is a space-saving trash chute for kitchen scraps, a small but meaningful improvement that reduces clutter while keeping essential bags close at hand. It’s a modest invention, yet it elegantly demonstrates how form and function can align when you look past the container’s original purpose.
If you crave a more universal solution, a sturdy plastic container with a lid can morph into a dependable drawer organizer. Clear or light-colored plastics are especially useful here because they let you see what’s inside without opening every box. Place the container inside a drawer, and use it to corral small items—pens, pencils, paper clips, or kitchen tools. The lid plays a crucial role, maintaining dust-free organization and preventing a loose assortment of items from spreading into a messy blur. This approach can be scaled: a set of matching containers lines up in a custom-made drawer, turning an everyday space into a compact workshop for daily tasks. The key is to select containers that fit your drawer dimensions and to label the compartments so that you can locate what you need without digging.
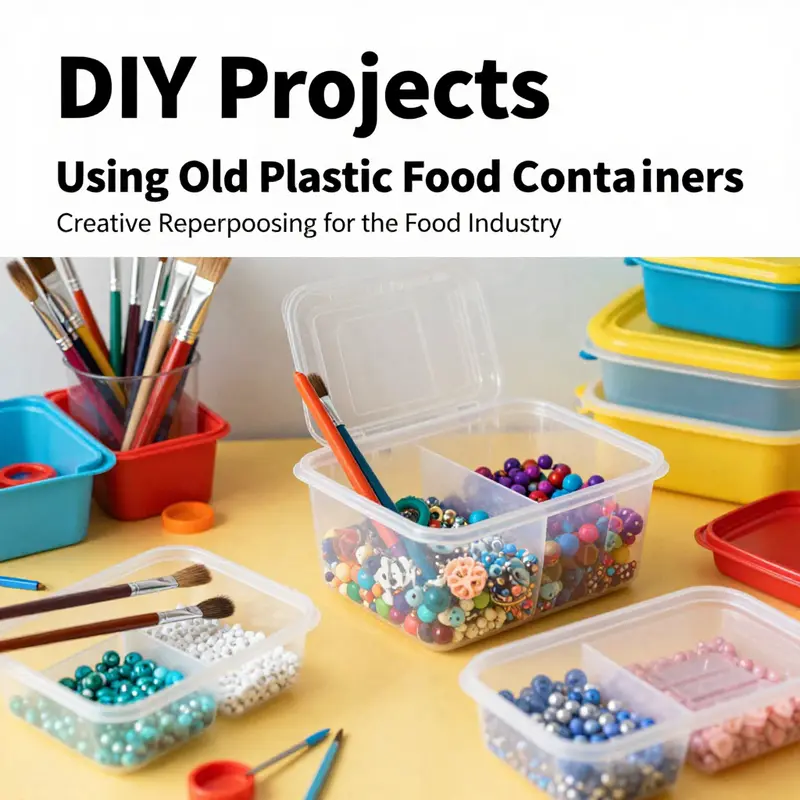
Another path is to cut a larger container into a multi-compartment storage box. A takeout-style rectangular box, cleaned and dried, can be sliced into several smaller sections with a craft knife. Each compartment holds a different category of small items—buttons, beads, screws, or batteries—allowing you to sort with precision while keeping everything visible and accessible. This transformation is particularly valuable for hobbyists and DIY enthusiasts who often juggle a suite of tiny parts. The result is not only practical but also aesthetically satisfying; the uniform structure of the compartments creates a sense of order that can reduce decision fatigue during craft sessions or repairs.
Beyond the drawer, a wall-mounted option offers compact elegance for entryways, workshops, or mudrooms. Attach strong adhesive hooks or magnets to the sides of a clean container and mount it on a wall or cabinet door. A wall-mounted holder makes sense for keys, small tools, cloths, or even a few hanging plants that add a touch of life to a functional space. This approach minimizes floor space use while giving you a direct line of sight to the items you reach for every day. The container’s transparency becomes a design feature, letting you know at a glance when something needs replenishing.
For larger containers that feel like overachievers, consider turning them into a dedicated craft or tool kit. Label sections so that you can quickly locate a set of small tools, spare parts, or a DIY project kit. The advantage here is the peace of mind that comes with a neatly organized workspace. You can stack, group, and label with care, creating a portable mini-organizer that travels between workbenches or takes pride of place on a shelf. This method is especially useful for those who flip between projects, as it minimizes rummaging and keeps essentials in one place where they belong.
Even the idea of repurposing can extend to plant life. A clean, transport-friendly container can function as a plant pot with the addition of drainage holes. Drill a few holes in the bottom, fill with soil, and plant a small houseplant or herb. The transparency of the plastic offers a curious window into root health, and the container’s shape can provide a modern, minimalist look that suits contemporary interiors. This is a gentle reminder that repurposing is not just about maximizing utility; it’s about rethinking aesthetics and how everyday items contribute to the atmosphere of a home.
In all these transformations, safety remains essential. Do not microwave or dishwasher old plastic containers, and always hand-wash with mild soap. Heat accelerates breakdown and the potential for chemical leaching, so patience in cleaning and maintenance protects both you and your living space. When you inspect for wear, consider odor as a guide: persistent smells after washing indicate that the container may not be suitable for repurposing. Keep the repurposed items away from food contact if there is any doubt about the plastic’s age or integrity. As a rule of thumb, containers manufactured before a certain date may be more likely to harbor unknown chemicals, so separate them from direct food storage.
The practical value of these repurposed organizers goes beyond tidiness. They represent a deliberate choice to extend life cycles, reduce waste, and model a thoughtful approach to consumption. Each container reimagined is a quiet counterweight to the steady drumbeat of consumer culture that often tells us to replace rather than repair. The environmental payoff compounds when you approach repurposing as a daily habit rather than a one-off project. A drawer now has a home for every tiny item; a cabinet becomes a gallery of orderly honesty rather than a closet of chaos. That shift may seem small, but it compounds: less clutter means less time spent searching, fewer impulse buys for new organizers, and a more serene home environment that invites calm rather than chaos.
If you’re exploring pathways to repurposing beyond the home, consider the broader implications of using containers as organizing tools in shared spaces. Classrooms, studios, and community centers can benefit from a few well-placed repurposed containers that teach practical sustainability while improving daily routines. In these settings, a simple, well-designed organizer can become a teaching tool, illustrating how materials can be given second lives and how mindful choices ripple outward through a community. The personal acts of rethinking and reusing expand into a more collective ethos, where the value of everyday objects is measured not by novelty but by usefulness, durability, and care.
For readers who want a concrete, ready-made option that echoes the same spirit of reuse, consider looking at take-away packaging boxes that are designed for reuse as storage. With a little imagination, these boxes can be repurposed into modular storage that fits your space and routine. The idea is to start small, test what works, and let your environment guide you toward calmer, more intentional organization.
As you consider the next steps, remember that the core idea is not about perfection but about practical transformation. Start with a container that’s clean, intact, and ready for a second life. Then, let your environment guide you: where does a drawer feel crowded? which wall could bear a simple, durable hook solution? which corner of a shelf could host a miniature plant display or a craft kit? The beauty lies in the improvisation—the chance to coax order from chaos with materials that would otherwise be forgotten. And as you move through your spaces, you’ll notice a subtle shift in how you relate to the things you own: less waste, more function, and a calmer, more intentional life.
From Takeout to Tiny Eden: Growing a Lush Indoor Kitchen Garden with Repurposed Plastic Containers
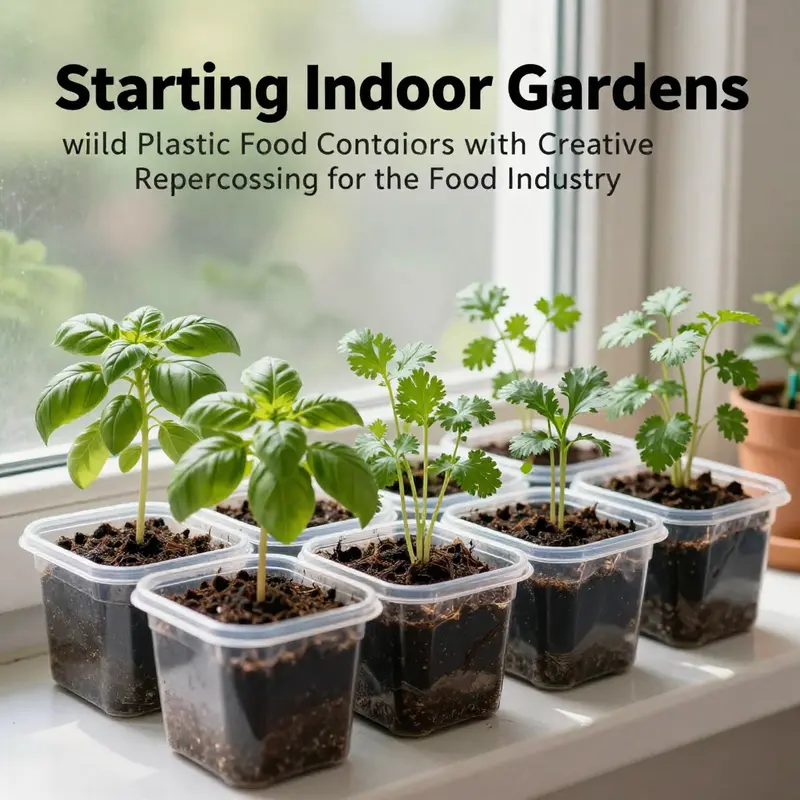
Every jar and tub you once tucked away in the cabinet can become a doorway to a greener kitchen. Turning old plastic food containers into a living, breathing indoor garden is more than a clever recycling trick; it is a small, steady commitment to fresh flavors, reduced waste, and a kinder footprint on the planet. The containers themselves—yogurt tubs, hummus bowls, or sturdy takeout boxes—already carry the shapes that suit a compact, sunlit corner of a windowsill. With a little preparation, they can become reliable planters that nurture herbs, greens, and even tiny vegetables, right where you cook and eat. The beauty of this approach lies in its accessibility. No fancy grow lights or expensive pots are required. What you need is a willingness to reimagine everyday containers as potential life-supporting vessels for soil, roots, and green growth. As you begin, treat each container as a two-part tool: a vessel that holds soil and roots, and a reminder that waste can become something new, something useful, something delicious.
The first step is selecting suitable containers. Look for sturdy plastic that originally held food and is clearly labeled as food-safe. Containers with straight sides and a flat bottom offer stability, which matters when you’re dealing with water and a small root system. Avoid anything cracked, warped, or made from materials not intended for reuse. Some plastics have lived long lives and carry the memory of previous contents; when that memory includes lingering odors or discoloration, it’s a cue to retire the container from soil and plant use. The same caution applies to containers with delicate seams or flimsy walls that might crack as roots grow or water rests at the bottom. The aim is simple: a container that supports healthy roots without leakage or collapse, a vessel that will stand up to regular watering and occasional repositioning for optimum light.
Preparation follows closely behind selection. Drainage is nonnegotiable; most herbs and greens will not thrive in waterlogged soil. Drill or poke several small holes in the bottom to give excess moisture somewhere to escape. A basic nail and hammer, or a heated screwdriver, can create a clean, sturdy set of outlets for water. If your chosen container has a lid, consider placing it inside a larger tray or saucer to catch runoff and keep your surfaces dry. Even without a lid, a tray helps contain spills and makes cleaning easier. When you are ready to fill, use a high-quality potting mix rather than garden soil. Commercial mixes are designed to drain well and provide the nutrients seedlings and young plants need during their most vulnerable weeks. Leave about an inch of space at the top to prevent soil from washing out during watering, and to give you room to reach in for pruning and harvesting.
Choosing what to plant is a balance of space, light, and patience. Herbs such as basil, mint, parsley, and cilantro are reliable performers in small containers, and leafy greens like lettuce, spinach, and arugula thrive in bright indoor light. If you have a sunny south- or west-facing window, you can keep several containers in a row, each hosting a different herb or microgreen mix. The goal is not a full kitchen garden in one go, but a modular system that can expand as you gain confidence. Seed starting in a small container is a practical way to begin. For herbs, seeds germinate quickly, and you can transplant seedlings with care into your repurposed planters as soon as they show true leaves. Seedlings that arrive with robust root systems adjust to a new home without too much shock when placed in the larger potting mix you’ve prepared.
Planting requires attention to depth and spacing. Seeds and seedlings have distinct needs, and following those guidelines helps maximize germination rates and early growth. A general rule for herbs is to plant seeds shallowly, then cover lightly with soil. For leafy greens, sow a little thinner than seed packet instructions and then thin as plants emerge to give each one enough space to unfold its first true leaves. Position your containers in places that receive bright light for at least four to six hours a day. A south- or west-facing window is ideal, but if light is limited, you can pair natural light with a full-spectrum LED grow light to create a reliable day-length that supports steady growth. The magic of indoor gardening often hinges on light; even modest, consistent illumination can transform a small container into a thriving green corner.
Care and maintenance are where many new indoor gardeners discover the art of growing. Watering is the heart of plant care, and it tends to be the aspect most frequently mismanaged in small, containerized setups. Water when the top inch of soil feels dry, then drain any excess. Avoid letting the soil stay soggy, which invites root rot and slows growth. A simple, regular routine—check moisture, adjust light exposure, and prune regularly—keeps plants compact and productive. Harvesting is not a final act but an ongoing conversation with your herbs. Regularly pluck leaves for fresh meals, which, in turn, encourages bushier growth and more prolific harvests. The wheat of success in an indoor garden is consistency combined with attentiveness, not perfection.
The benefits of this approach extend beyond the kitchen. Using old containers reduces waste and demonstrates a curious, practical resilience. Every container repurposed into a planter keeps plastic out of landfills and shows how everyday objects can re-enter daily life as something useful rather than something to discard. The resulting herbs and greens supply you with fresh flavor straight from your windowsill, reducing the need to buy pre-packaged produce that has traveled long distances. This is a small-scale, accessible way to participate in sustainable living, illustrating a larger principle: resources are not just materials to consume but opportunities to reinvent. As you cultivate your tiny Eden, you may notice a shift in how you view ordinary items—what started as a simple container becomes the seed of a daily ritual of care, patience, and nourishment.
If you’re curious about other ways to extend the life of containers and repurpose packaging, you can explore related ideas such as transforming takeout boxes into practical storage or project boxes. For example, you can imagine how an eco-friendly takeout box might serve as a temporary seed-starting tray, a neatly organized craft caddy, or a small recycling-in-progress bin for your kitchen. eco-friendly takeout boxes for food packaging offers a sense of how packaging design and practical reuse can intersect with a gardener’s mindset. The broader point remains simple: repurposing is a mindset and a practice that scales from a single container to a household’s daily routines.
As you expand your indoor garden, consider integrating a rotating system. Start with one or two containers near the brightest window, then move to a second row as you gain confidence. This modular approach makes maintenance manageable and encourages experimentation with different plant families—thin-leafed herbs in one corner, sturdy greens in another. The microcosm you create on a kitchen sill becomes a living reminder that food systems begin at home and grow outward through responsible choices and patience. And while the containers themselves carry the history of meals past, they can become the groundwork for meals tomorrow—lovers of fresh herbs, salads, and greens who appreciate the quiet, daily act of tending a living thing on a sunny ledge.
External resources can deepen your practice. The Royal Horticultural Society, for instance, has guidance on indoor herb gardening with recycled containers, which bridges practical steps with sustainable thinking and community-based know-how. Exploring such guidance can inspire you to refine your approach—the kinds of tweaks that turn a modest windowsill garden into a reliable source of flavor and joy. It’s not about chasing perfection but about cultivating a gentle, ongoing relationship with plants and with the materials that surround us every day.
In sum, starting an indoor garden with old plastic food containers is a grounded, doable project that aligns with broader sustainability goals while delivering tangible benefits in flavor, cost, and life satisfaction. The process invites you to look anew at ordinary objects, to treat them with curiosity rather than disposal, and to let small, regular acts of care accumulate into something nourishing. Your kitchen becomes not just a place to cook but a space where practice and patience yield living green results, where waste is transformed into growth, and where a little sunlit corner can sustain you through seasons of change. For those willing to start small and stay patient, the rewards are steady greens, bright flavors, and a daily reminder that environmental responsibility can be woven into everyday life—one repurposed container at a time.
External resource: https://www.rhs.org.uk/advice/podcasts/indoor-herb-garden-with-recycled-containers
From Trash to Trough: Make Safe Pet Food Stations from Old Plastic Food Containers
DIY Pet Food Stations: Safe, Simple, Sustainable
Repurposing old plastic food containers into pet feeders is practical, eco-friendly, and often surprisingly elegant. When done carefully, these homemade stations provide reliable short-term feeding, reduce waste, and help you save money. Start by choosing the right containers and following a few safety-minded steps. The rest is straightforward: a stable reservoir, a controlled outlet, and routine maintenance keep pets fed and food fresh.
Begin with safety. Only reuse containers that once held food and are clearly marked as food-grade plastics. Look for recycling symbols like #1 (PETE) or #2 (HDPE). Avoid any container that held chemicals, oil, or other non-food substances. Inspect each piece for cracks, warping, deep scratches, yellowing, or stubborn odors. If a container shows any of these signs, recycle it instead of repurposing it for pet use. Heat speeds plastic breakdown, so never microwave or put a repurposed feeder in a dishwasher; hand-wash with mild soap and warm water instead.
Clean thoroughly before you start. Remove labels and adhesive residue. Soak containers in warm, soapy water and use a soft brush to reach corners. Rinse well and dry completely to prevent mold. If the plastic has a lingering smell, air it outdoors for several days; persistent odors are a sign to recycle and move on.
Choose the right size for the animal. For cats and small dogs, a one-liter or two-liter bottle makes a compact gravity feeder. For larger dogs or outdoor animals, a gallon jug or large yogurt tub works better. Small rodents and birds need smaller reservoirs with tiny outlets. Match outlet size to kibble or pellet size so food dispenses in controlled amounts.
The simplest design is a gravity-feed feeder. Take a clean bottle and cut it into two parts. Invert the top half to create a reservoir and fit it into the bottom half, which becomes the tray. Cut a small, rounded outlet hole near the bottom edge of the tray. The opening should be slightly larger than the food pieces, but small enough to prevent large spills. Smooth every cut edge with fine sandpaper. Alternatively, heat the edge briefly to round it, but be cautious and ventilate the area if you use heat.
Secure the connection between reservoir and tray. A snug fit often holds, but for long-term use, add a bead of hot glue or non-toxic silicone around the joining seam. Make sure the joint is clean and dry before applying adhesive. Avoid glues that give off strong fumes or those not rated for food-contact items. Test the feeder by filling the reservoir with the intended food and watching how it dispenses. Adjust the angle slightly if food clumps. A tiny wedge under one side of the base creates a gentle incline that encourages steady flow.
For birds and other pecking animals, modify the design to prevent waste. Birds may scatter food when it is easily reachable. Use opaque or colored bottles to reduce the temptation to peck through transparent walls. Build a shallow tray with barriers that stop birds from flipping food. A hinged refill door on a small wooden or cardboard housing reduces spills and makes refilling simpler. If you’re crafting a feeder for outdoor use, add a rain guard by leaving the bottle’s top intact as a canopy.
Small pets like hamsters need very precise openings. Drill a small hole or cut a slit that releases only a few pieces at a time. Mount the feeder low to the ground so the animal doesn’t tip it. For multiple-pet households, create separate small feeders to avoid competition and overeating. Label each feeder with the pet’s name if diets differ.
Place feeders wisely. Keep them in dry, shaded spots away from direct sunlight and drafts. For indoor cats and dogs, a quiet corner reduces stress at mealtime. Outdoor feeders should sit under a covered area to stay dry and deter wildlife. Elevate feeders slightly on non-slip mats to prevent tipping. Check stability closely before leaving the feeder unsupervised.
Maintenance keeps these repurposed feeders safe. Clean the feeder weekly with warm, soapy water and a soft brush. Empty and dry the reservoir completely during cleaning. Inspect frequently for wear: thin walls, cracks, or fuzzy residue mean it’s time to recycle the piece and replace it. Monitor food freshness and avoid storing kibble in repurposed containers longer than 48–72 hours, especially in warm or humid conditions. If pellets clump, disconnect the reservoir and clear the outlet to prevent blockages.
Adaptability is one of these feeders’ best features. Convert yogurt tubs into treat dispensers by cutting a small access hole and securing a weighted lid. Use a large syrup bottle as a gravity waterer by inserting the neck into a shallow basin that allows continuous flow but minimizes spills. For messy eaters, place a removable tray under the feeder to collect stray kibble; this makes cleanup fast.
Think about pet behavior. Some animals hoard or bury food when given unlimited access. If your pet tends to overeat, use the feeder to portion meals, or combine it with a timed dispenser for controlled feeding. For nervous or shy pets, place the feeder where the animal feels safe and can approach without being startled.
If you need supplies for a quick, clean temporary feeding solution, consider clear, disposable cups meant for outdoor uses. They can serve as single-use catch trays when introducing a new feeder design. See a suitable option at this internal resource on clear plastic cups for outdoor pet use: clear plastic cup for outdoor pet use.
Finally, when a container reaches the end of its usable life, recycle it properly. Don’t transfer degraded plastics back into pet service. Recycle or dispose of them according to local guidelines. For more on safe feeding practices and how to manage dietary needs for different animals, consult a trusted animal care resource such as the ASPCA’s feeding guidance: https://www.aspca.org/pet-care/general-pet-care/feeding-your-pet
Repurposed plastic feeders are a low-cost, low-waste answer to pet feeding needs. With careful selection, considerate design tweaks, and regular upkeep, these DIY stations serve pets safely and reduce household waste. They are practical projects that reward attention to detail and a commitment to both pet care and sustainability.
Second Lives for Old Plastic Food Containers: A Practical, Safe Path from Clutter to Community Helpers
Old plastic food containers are more than clutter. They can become the backbone of a calmer, greener home if you approach them with care and a clear purpose. The idea is simple: give the containers a second life that serves you today while keeping safety at the center. Before you reach for a project, take a moment to inspect what you have. Look for cracks, warping, discoloration, and any persistent odors. If any of these signs appear, it’s time to recycle or dispose of the container. The second life you seek comes from thoughtful repurposing, not pushing questionable materials into your daily routines. When a container still feels sturdy and clean after a proper wash, it becomes a candidate for more ambitious reuse. The key is to trust your senses and choose projects that never place food or beverages at risk. This approach not only reduces waste but also cultivates a mindset of mindful consumption that can ripple outward to other areas of life.
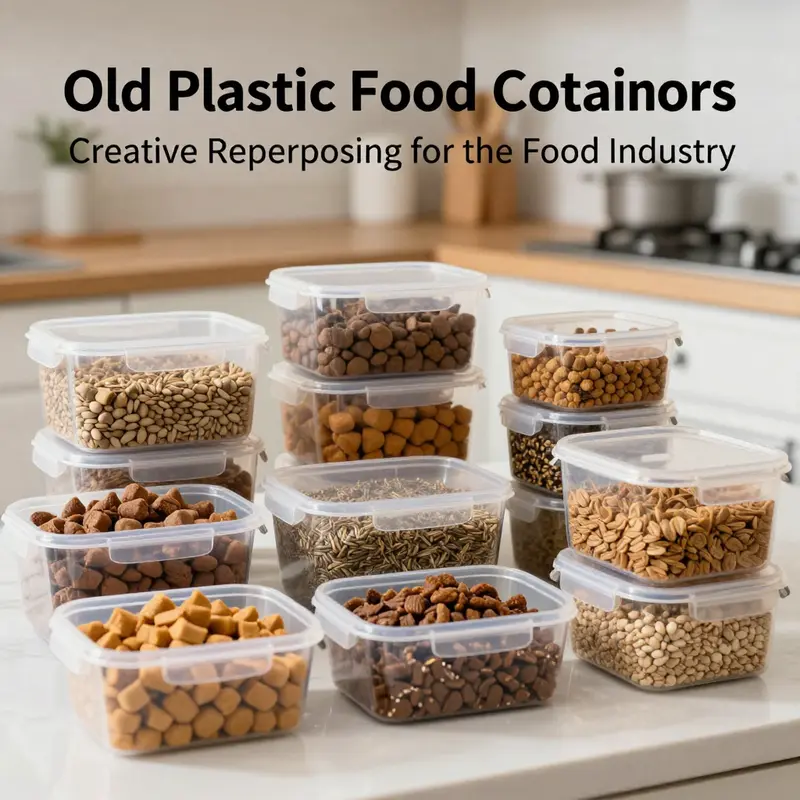
From the kitchen to the home office, repurposed plastic containers offer a surprisingly wide field of opportunities. The most reliable and common path is to transform them into organizers. Clean, label, and stack them to corral dry goods in the pantry—flour, sugar, pasta, rice, and coffee beans all stay fresher when stored in containers with tight lids and clear walls. In the bathroom or bedroom, smaller containers become neat holders for toiletries, cosmetics, jewelry, or small accessories like buttons or pins. In the office, a small, tidy system of transparent containers can keep pens, paper clips, and other supplies within easy reach. And in the garage or workshop, these same containers protect nails, screws, bolts, and washers from loss. Through such simple swaps, daily friction diminishes, turning ordinary storage into a quiet, ongoing act of care for your space and the planet.
Part of the beauty of this approach is its compatibility with the rhythm of life—seasonal changes, quick decluttering, or a weekend refresh. For those who crave a touch of greenery indoors, an indoor herb garden offers a satisfying, practical extension of repurposing. Small rectangular or square plastic containers, emptied, cleaned, and given a few drainage holes, can become seed starters for herbs like basil, oregano, or thyme. Fill with potting soil, plant a few seeds, and place the tray on a sunny sill. As seedlings emerge, you can transplant them into larger repurposed containers or window boxes. The same containers that once held lunch items become tiny corner ecosystems, producing fresh flavors and a sense of accomplishment with minimal effort. The process teaches patience, reminds us that growth can be incremental, and makes the home a living lesson in sustainability.
Yet repurposing isn’t limited to growing greens. A large container, especially one with a sturdy lid, can become a bird feeder or an outdoor storage bin for birdseed. In cool, dry places, the seed remains dry and less prone to spoilage, and the simple act of refilling the feeder connects you with the rhythms of the natural world. Inside the house, the same sentiment translates into a practical use: a clear, well-labeled container can become a reliable home for spare craft supplies or sewing notions. Glue sticks, beads, yarn, needles, and threads find a home in a stack of transparent units, each one visible at a glance. The transparent nature of the plastic helps you locate what you need without rummaging through a drawer, saving time and reducing the impulse to throw things away when you could simply reuse what you already own.
Simplicity, however, does not preclude a little ingenuity. A cut or a modification can transform a container into something unexpectedly useful. Cut the top off a bottle to create a shallow desk organizer for pens and pencils, or remove the lid from a container to fashion a compact drawer organizer for small items in a kitchen or workshop. These DIY adjustments are approachable for most people and require only basic tools, a steady hand, and curiosity. The goal is not to complicate life but to reduce the burden of clutter with practical, visible systems. When you can see the contents and know exactly where they belong, you are more likely to return items to their homes after use, reinforcing a cycle of reuse that extends beyond one project or season.
Another highly satisfying use is portioning meals and freezing them for future meals and busy days. Old containers can be ideal for freezing homemade soups, stews, or pre-cooked portions. Label each container with flavor and date, and keep a running rotation so nothing gets forgotten at the back of the freezer. This practice supports healthier eating by preventing last-minute takeout and helps manage portion control. It also demonstrates the elegance of reuse: one container used repeatedly for storage, freezing, and thawing—each cycle preserving both the meal and the material it’s stored in. Of course, it’s essential to avoid using containers that have absorbed odors or show any signs of degradation for food storage. If a container smells off or feels brittle, it doesn’t deserve a second chance with food. Better to recycle and start anew with containers that are clean, intact, and free of suspicious residues.
In a kitchen that embraces reuse, even the larger containers can become tools for everyday cleanup and organization. A practical idea is to convert one or more containers into a dedicated holder for cleaning tools—sponges, brushes, scrubbers—by cutting modest holes along the side to create slots that allow items to hang and dry. Proper air flow reduces mold risk and helps prolong the life of sponges and brushes. It’s a small modification with a big payoff: fewer damp corners and less cross-contamination in the sink area. A nearby container can then serve as a compact recycling bin for cardboard or other recyclables, kept out of the main waste stream but close at hand for easy sorting before trash day.
As with any reuse project that touches food, safety remains the compass. The cautionary notes offered by experts are worth repeating and applying with discipline. Avoid using very old containers for food storage, especially those manufactured before 2010, due to potential leaching of harmful chemicals such as BPA. Do not heat these containers in the microwave and do not place them in the dishwasher, where heat accelerates degradation and chemical migration. Hand washing with mild soap is the safest approach. Additionally, when selecting containers to reuse for long-term projects, steer toward materials known for stability in repeated use, such as high-density polyethylene (HDPE), low-density polyethylene (LDPE), or polypropylene (PP). Prioritize containers that show no cracks, scratches, or persistent odors; if in doubt, recycle rather than risk exposure.
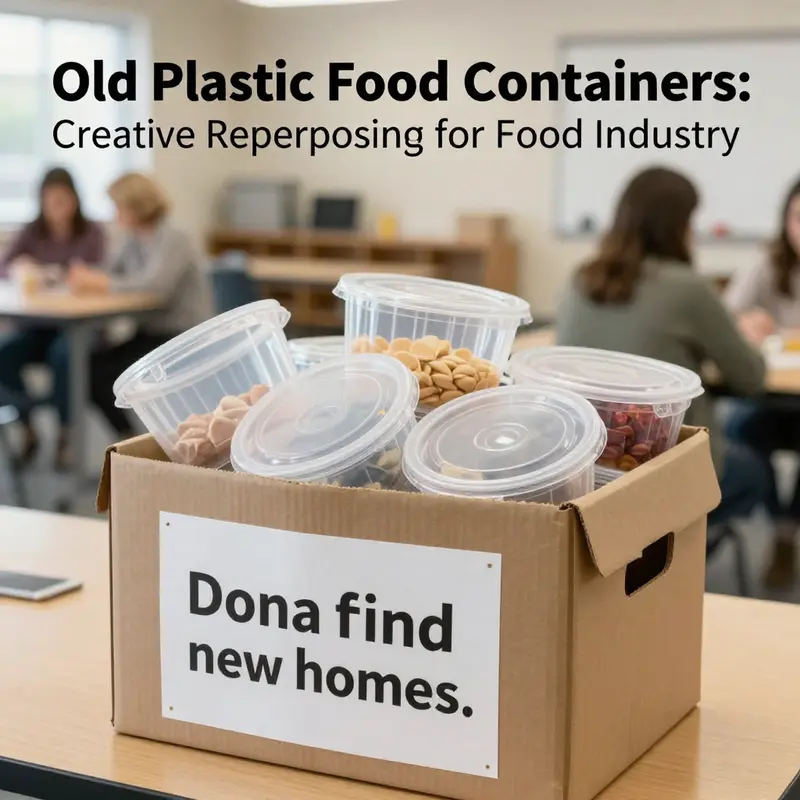
If a container still has life but you no longer need it, consider passing it along to others who can use it. Donations to local charities, schools, or community centers can extend the container’s life and reduce waste. Platforms for local classifieds also offer a way to find new homes for sturdy containers in good condition. Recycling remains an option for anything that has reached the end of its usable life, especially if it has become brittle or discolored beyond safe reuse. In addition to practical projects, you can weave these ideas into a broader habit: establish a small, dedicated bin or shelf for “in-progress reuse” items. When an item no longer serves its original purpose, you can assess whether it can be repurposed, donated, or recycled, creating a continuous loop that keeps the home tidy and the environment healthier.
For readers curious about the broader supply chain and the future of packaging, a quick exploration of safer packaging options can be enlightening. For instance, the idea of safe, reusable packaging concepts aligns with the practice of reimagining old containers—an approach that supports accountability and community-minded consumption. If you’d like to explore a practical example of safer takeout packaging as a concept, you can read more about eco-friendly takeout packaging options here: eco-friendly takeout packaging options.
In closing, repurposing old plastic containers is less about one perfect project and more about a steady habit of looking for usefulness in what would otherwise be waste. It requires a little attention to safety, a dash of creativity, and a readiness to see through the clutter toward a more organized, sustainable home. The containers that once held ingredients or snacks can become the everyday tools that hold together your personal ecosystem: a kitchen that stays orderly, a home that breathes more easily, and a schedule that feels more manageable. Through this process you gradually learn to balance practicality with care, turning a simple household staple into a platform for growth, sustainability, and shared little victories. External resources on safe plastics remind us to stay current with evolving guidance, and they encourage ongoing conversations about how to protect family health while making the most of what we already own.
External resource: For more on BPA safety and related concerns, see this widely recognized health authority resource: https://www.who.int/news-room/fact-sheets/detail/bisphenol-a-(bpa)
null
null
Final thoughts
Repurposing old plastic food containers is not only a smart business move, but it also reflects a commitment to environmental stewardship. By transforming these containers into organizers, creating indoor gardens, establishing pet food stations, undertaking DIY projects, or donating them, food businesses can position themselves as eco-conscious leaders within their communities. Embracing these practices communicates a strong message about sustainability that resonates with customers while simultaneously reducing waste. Make repurposing a part of your operational strategy today and lead the charge towards a greener future in the food industry.