
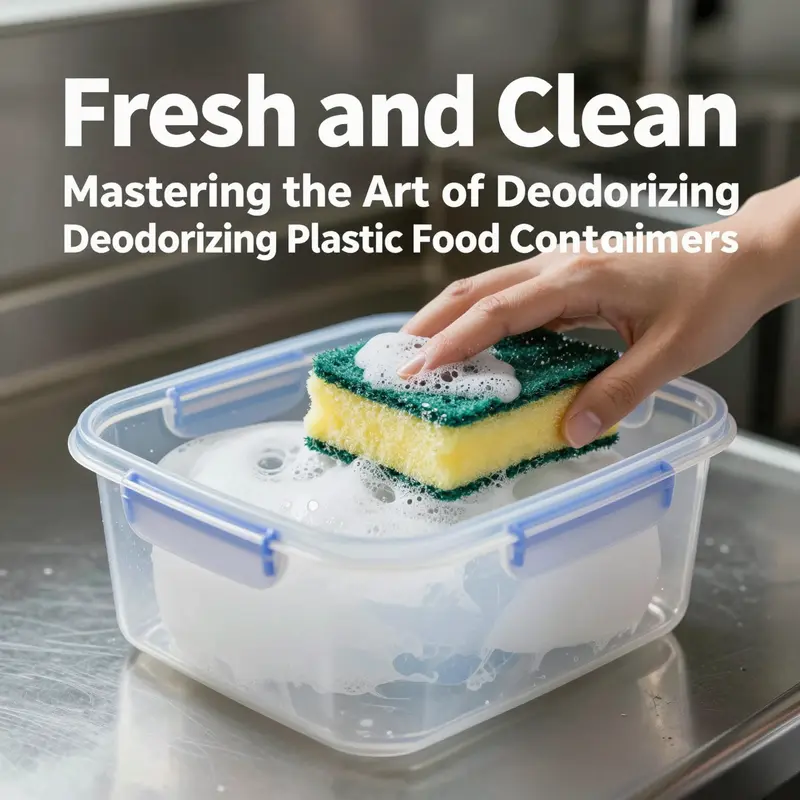
Plastic food containers are essential for food businesses, yet their porous nature can trap odors over time. A crisp, fresh container is not just appealing; it’s a standard for hygiene and customer satisfaction. Ensuring that your food containers remain odor-free is vital for beverage chains, restaurants, food trucks, and catering services. This guide will walk through effective cleaning techniques, natural solutions like baking soda and vinegar, and the power of citrus and sunlight in deodorizing plastic containers. By incorporating these effective methods, you can enhance the quality of your service and promote a better experience for your customers.
Breathing Fresh Life Into Plastic: A Cohesive Cleaning Ritual for Odor-Free Food Containers
Every kitchen friend has a memory of a stubborn scent that seems to cling to a plastic food container long after the last crumb has vanished. The odor isn’t just about something unpleasant; it’s a sign that tiny food residues—oils, proteins, and micro-particles—have settled into corners, seals, and the flexible joints of the lid. Odors can travel, migrate, and linger, especially in the gasket or around the edge where food particles can hide in micro-crevices. The goal, then, is not a single flashy trick but a cohesive ritual that treats the container as a system: clean, neutralize, dry, and guard against future perfume leaks. This approach respects the science of scent molecules while honoring practical kitchen realities. It invites us to move beyond quick rinses and to adopt a rhythm that prevents odors from becoming a recurring problem.
A practical routine begins with immediate action. After each use, a quick rinse under warm water helps prevent residues from bonding with the plastic. Fatty residues, sauces, garlic, or citrus oils can set and become harder to shift as they dry. The inside corners, the lid’s gasket, and the seam where the lid meets the body are common hiding places for these residues. A soft brush or sponge that reaches into those small spaces makes an appreciable difference. This initial step does not require heavy ingredients or aggressive cycles; it is about stopping the problem at its source. When the container is clean, pat it dry with a clean towel or let it air-dry upside down on a rack. The goal is to keep moisture from lingering, because damp surfaces can nurture odors as easily as they nurture mold.
Yet even with diligent rinsing, some odors persist. Here is where a gentle, science-informed sequence comes into play—one that respects the plastic and avoids harsh solvents that could degrade it. The first targeted method is a baking soda intervention. Baking soda is a gentle, natural deodorizer with mild abrasive properties that help dislodge tiny residues without scratching or dulling the surface. To prepare, dissolve one tablespoon of baking soda per cup of warm water. The ratio is forgiving, but this concentration balances odor neutralization with plastic safety. Fill the container with this solution and allow it to soak for several hours, or even overnight if odors are stubborn. After soaking, scrub softly with a sponge and rinse thoroughly. The aim is to neutralize the odor-causing compounds rather than mask them, and baking soda does this in a way that is predictable, affordable, and safe for most household plastics.
For containers that repeatedly harbort odors from fatty foods or highly aromatic ingredients, a complementary step can boost results: a short dishwasher cycle, provided the container is labeled dishwasher-safe. The baking soda soak often weakens the grip of lingering oils, and heat in the dishwasher helps to break down trapped oils that simple washing cannot reach. When using this method, select a high-temperature cycle and avoid prolonged exposure to heat that could warp or degrade the plastic over time. It is essential to check the manufacturer’s guidelines on heat tolerance and to ensure the container is explicitly marked as dishwasher-safe. If in doubt, the baking soda soak alone—followed by a thorough rinse and air-dry—remains a reliable approach.
Alongside chemical deodorizers, there are natural deodorizers that can work harmoniously with the cleaning process. A slice of lemon or a small amount of coffee grounds or used tea leaves can be placed inside a clean, dry container and left overnight. The citrus oils from lemon help cut through residual oils and impart a fresh note, while coffee grounds or tea leaves absorb a wide range of odors through adsorption. When using lemon, you can either wash with a lemon-infused water solution or let lemon slices sit in water and the container for a while before rinsing. The scent of lemon is often a welcome indicator that the process is working, but it is important to rinse well to avoid leaving any citrus residue, which itself could transfer a new scent if left behind. Coffee grounds, tea leaves, or activated charcoal offer more robust odor absorption without introducing additional flavors, which can be helpful for particularly persistent smells such as fish, garlic, or curry. If you choose charcoal, a small piece placed inside the container for 24 hours can significantly reduce stubborn odors, though you should ensure it is clean and food-grade to avoid any risk of contamination.
A final, critical habit in maintaining odor-free containers is thorough drying and proper storage. Odors thrive where moisture lingers, and mold can grow from damp corners that never see the air. After cleansing, dry the container completely before reassembly. Remove the gasket from the lid if it is detachable and dry it separately. If the gasket traps moisture or retains a smell, a quick wipe with a clean, damp cloth followed by thorough drying can help. If you notice persistent odors despite meticulous cleaning, it may be a sign that the plastic has started to degrade or that deep scratches have formed, harboring bacteria and oils in a way that is hard to reverse. In such cases, replacing the container becomes the prudent option, as aging plastics can harbor odor compounds more stubbornly and may also pose a risk of chemical leaching under certain conditions.
The ritual would be incomplete without acknowledging the influence of light and air. Sunlight exposure, while not a daily necessity, can be a gentle ally for mild odors on heat-tolerant plastics. Placing a clean, empty container in direct sunlight with the lid off allows ultraviolet rays to reduce odor-causing bacteria and to encourage volatile compounds to dissipate. A typical windowed balcony assignment—4 to 8 hours in bright sun—can be enough for a container that has only mild odors. If sunlight is limited or if the container is not stably placed in a sunny spot, simple air exposure in a well-ventilated area also helps. The key is to avoid heat extremes that could warp the container and to ensure that the container is completely dry before the process begins. In this integrated routine, light exposure is a supplementary measure, not a primary method, and should be used judiciously according to the material’s heat tolerance.
In practice, this cohesive approach yields results that feel almost intuitive: clean after each use, treat tougher odors with a baking soda soak, optionally pair with a short dishwasher cycle when safe, use natural deodorizers to tackle lingering notes, and finish with thorough drying and air exposure as needed. The aim is not to chase a miracle cure but to apply a layered strategy that respects the material and the aromas it harbors. Importantly, the sequence aligns with safety guidance about heat and chemical exposure. It is worth repeating a straightforward caution: do not subject containers that lack explicit heat tolerance to high heat or oven-like environments. This is essential for preserving the plastic’s integrity and for avoiding any potential chemical release from overheated materials.
Throughout this journey, the choice of method can be guided by the type of odor and by the age and condition of the container. A mild garlic scent in a newer container often responds well to a simple baking soda soak and thorough drying. A more persistent, fishy or curry-related odor might benefit from lemon or citrus-based washing combined with a careful drying cycle and, if safe, a brief dishwasher step. A container with visible scratches or discoloration may have micro-crevices that trap odors more stubbornly; in such cases, evaluating replacement becomes part of the prudent maintenance plan. The overarching message is practical stewardship: clean, neutralize, dry, and reexamine—continuously refining the routine as odors evolve with use and time.
An important nuance in this conversation is the role of the container’s label and material. The risk of chemical smells often correlates with the plastics’ compatibility with heat, fats, and repeated washing. The guidance here is to respect labels and to avoid exposing containers to temperatures beyond their specified limits. This respect is not sheer conservatism; it’s a practical safeguard that protects both your health and the longevity of the containers. When a container exhibits deep scratches, persistent smells that refuse to yield after multiple attempts, or a general feel of degradation, the prudent course is replacement. Plastics, with time, can degrade to a point where conventional deodorizing methods cease to be effective, and continuing to use such items may carry health and safety risks that outweigh the cost of new containers.
To connect these thoughts back to the everyday kitchen, imagine a container that has served well for a week of lunches. It is clean, dry, and free of obvious residues. Yet a faint odor persists after a now familiar washing routine. You may decide to implement a baking soda soak, followed by a lemon wash and a thorough air-dry. If you often pack food that is heavy on oils, a periodic dishwasher pass—when the container is clearly labeled as safe for dishwashers—can be part of the maintenance calendar. The key is to maintain a rhythm that prevents any one method from becoming a stubborn habit and to always monitor the container for signs of wear that could indicate a need for replacement. This approach rewards patience and attention, turning the problem of odors from an annoyance into a manageable aspect of food safety and hygiene.
In closing, the heart of deodorizing plastic containers lies in treating the odor as a measurable, manageable phenomenon rather than an intractable nuisance. Pair immediate rinsing with a measured baking soda approach, consider a safe dishwasher option when appropriate, lean on natural deodorizers for final refinements, and finish with thorough drying and air exposure. The result is a cleaner kitchen ecosystem where containers remain reliable, odors stay in check, and meals travel from bag to lunchbox without unintended aromatic souvenirs. For individuals who manage takeout or storage containers as part of a broader packaging and kitchen workflow, this method offers a robust, flexible framework. It respects material constraints, leverages familiar household staples, and preserves the integrity of the containers while promoting a hygienic, odor-controlled environment.
As a practical note, containers used for takeout or home-delivery meals may benefit from considering packaging options that align with odor control. For example, eco-friendly takeout boxes designed for safe microwave use and grease resistance can reduce odor transfer from oily foods, easing the deodorizing process and supporting sustainable choices in the kitchen. Such packaging, when treated with the same care described above, can help maintain freshness from the moment a meal arrives to the moment it is repurposed for storage. The integration of thoughtful packaging choices with a disciplined deodorizing routine creates a feedback loop of cleanliness and sustainability in the kitchen. To explore an option aligned with this broader approach, one might look at eco-friendly takeout boxes for food packaging and their design features, which can complement the deodorizing practice without adding complexity to it.
Internal link reference for further practical packaging considerations: eco-friendly takeout boxes for food packaging.
External resource for deeper reading on the science and safety of plastic food containers: https://www.mayoclinic.org/healthy-lifestyle/food-and-nutrition/in-depth/plastic-food-containers/art-20475163
Natural Solutions for Fresh Storage: Baking Soda and Vinegar as Deodorizers for Plastic Food Containers
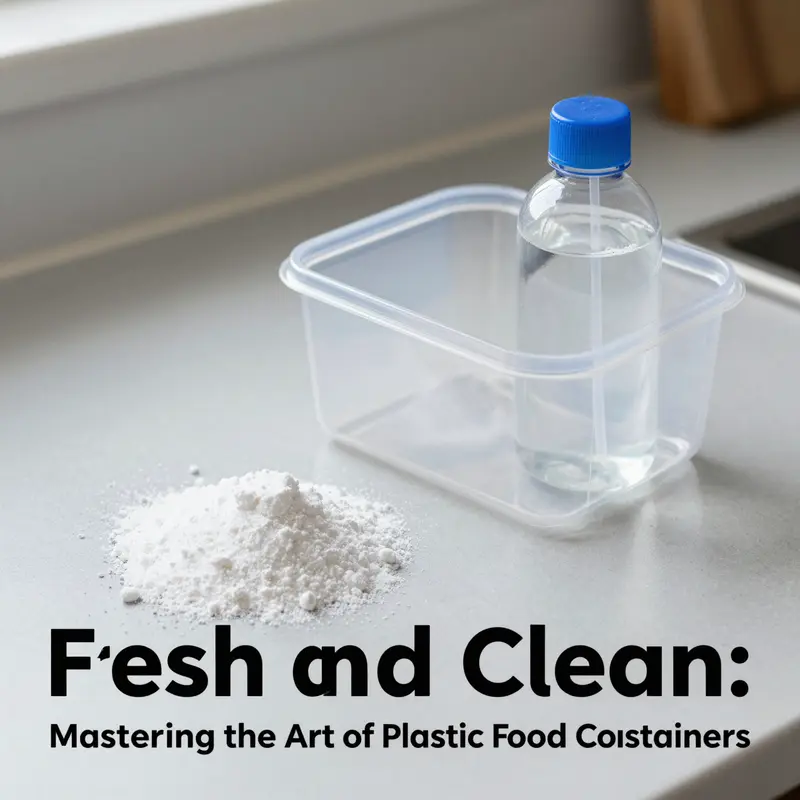
Odors cling to plastic containers in a way that ordinary washing often cannot fully conquer. Even after a thorough rinse, faint scents of garlic, fish, curry, or onion can linger, whispering from the corners where residue hides and from the sealing gasket that hugs the lid. The microscopic porosity of plastic—its tiny networks that can trap molecules—means odors can become embedded over time, especially with repeated use and exposure to strong-smelling foods. Yet there is a long history of simple, natural remedies that can reset those containers without resorting to harsh chemicals. Among these, baking soda and vinegar stand out for their complementary powers: one neutralizes odors and mild residues, the other dissolves grime and mineral buildup that can contribute to lingering smells. When used thoughtfully, these agents can restore freshness and extend the life of plastic storage, letting you store leftovers, school lunches, and meal-prep portions with confidence instead of concern.
The approach here is not to rely on a single magic bath but to weave a gentle routine that treats both surface residues and deeper smells. Baking soda acts as a mild abrasive and a broad-spectrum deodorizer, while vinegar follows as a grease-cutting, odor-neutralizing partner. Together, they create a dynamic duo that tackles odor at multiple levels. This method is not about aggressive scrubbing or exposure to heat; it is about balancing efficacy with the longevity and safety of the container. If you think of odor as a puzzle with several pieces—the trapped food particles, the mineral residues from water, the oils released during cooking—the baking soda and vinegar combination addresses each piece in turn, loosening the grip of stubborn scents without compromising the container’s integrity.
To begin, consider your container and its parts as a small system: the body of the plastic, the lid, and the sealing gasket. Odor can settle in any of these components, especially around the gasket where a thin film of oil or food bits can accumulate. A careful clean-up sets the stage for the deodorizing steps that follow. Start with a warm-water wash using a mild dish soap, paying close attention to the corners, the lid edge, and the gasket. A soft brush or sponge helps dislodge particles tucked into crevices. Rinse thoroughly so no soap residues remain, because soap film can itself become a carrier for odors once the container dries. Once the container is clean, you’re ready for the baking soda and vinegar routine that absorbs what a wash cannot.
The first technique, a baking soda paste, is a straightforward application that relies on the gentle abrasive nature of baking soda to lift residues and its odor-absorbing power. Mix a small amount of baking soda with just enough water to form a paste. The goal is a consistency that clings to the inside surfaces without running away. Apply the paste to the entire interior of the container, focusing on the corners that tend to harbor smell-causing molecules. After spreading the paste, let it sit for about 15 to 30 minutes. During this time, the baking soda begins to neutralize acids and basic compounds that form odors, and it starts to lift any embedded residue. Then, use a sponge to scrub gently and rinse thoroughly with clean water. This step is often sufficient for mild odors and for containers with light staining; it imparts a cleaner base without introducing strong odors of its own.
For more stubborn scents, a second approach—often more dramatic in effect—is the vinegar and baking soda fizz method. This technique leverages the effervescence of the reaction between acetic acid in vinegar and the baking soda. Start with an equal-parts mixture of white vinegar and water in the container. Add approximately one tablespoon of baking soda. The reaction will fizz vigorously as carbon dioxide bubbles form, lifting away residues and dislodging trapped molecules from the microscopic pores of the plastic. Let the fizzing settle and the solution sit for several hours or even overnight for deeply entrenched odors. Afterward, discard the solution and thoroughly wash the container with dish soap and warm water. A final rinse ensures any vinegar tang is removed. This method is particularly effective for odors associated with garlic, fish, and strong spices, because the acid helps break down oily residues that can cling to plastic surfaces.
Both methods—paste and fizz—are gentle enough for most household plastics, but there are practical cautions to keep in mind. First, always consult the label or manufacturer guidelines to confirm that the container is labeled as microwave-safe or dishwasher-safe. Some plastics are more vulnerable to degradation from heat or harsh cleaning agents than others, and repeated exposure to strong acids, even diluted, can gradually weaken plastic structures, particularly if there are scratches or visible wear. Second, do not rely on these methods for containers with deep scratches or persistent chemical smells that resist cleansing. In such cases, replacement may be a safer option to prevent contamination or leaching of chemicals into food.
Beyond these primary methods, a broader understanding of how odors persist in plastic can inform better practice. Plastic’s microstructure can trap food molecules that standard washing may not reach. Once trapped, these molecules can slowly release back into your storage space, especially when heated or when the container is closed tightly for long periods. The vinegar component helps dissolve mineral deposits and residue that can contribute to a musty or stale smell, while baking soda’s porous, crunchy texture absorbs a wide range of odors—acidic and basic alike. In practice, this means that a routine with periodic baking soda or vinegar treatments can be a preventive measure against odor buildup, especially for containers that see frequent use with aromatic foods.
To keep this approach integrated and practical, consider adopting a simple maintenance rhythm. After washing and drying your container, you can perform a light, preventive bake–soda pass once a month or after several uses with strong-smelling foods. If a container sustains repeated exposure to garlic or onion, a gentle weekly wash followed by a quick baking soda wipe can prevent odors from becoming embedded. For those who prefer a less hands-on routine, a periodic vinegar soak—short, not overlong—can serve as a deeper cleansing cycle without the risk of overexposure to harsh chemicals. The key is balance: you want enough exposure to address odors, but not so much that the container’s integrity is compromised over time.
In addition to the internal deodorizers, consider your storage environment as a final factor in odor management. After finishing the cleaning, allow the container to air dry completely before sealing or storing. Air drying reduces residual moisture that can contribute to mustiness and mold if left damp. Keeping lids loosely off or placed in a dry area for a while longer encourages airflow through the gasket and lid’s inner channels, where moisture and odor particles can linger. Referencing the science behind odor control, air exposure helps dissipate volatile compounds that cleaning solutions release, as well as any lingering fragrance from foods.
For readers who want to explore related topics beyond basic cleansing, there is value in considering how packaging materials influence odor dynamics in home storage. The discussion extends into how various plastics and seals respond to treatments like baking soda and vinegar. Some materials resist odor more effectively, while others may benefit from more frequent cleansing. A practical takeaway is to tailor your approach to the specific container you own, guided by its labeling and your own experience with odor persistence. If a container has a thick, textured interior or a perforated seal around the lid, give extra attention to those zones during cleaning and apply the paste or fizz method with careful scrubbing to ensure full coverage.
From a consumer behavior perspective, adopting natural deodorizing techniques like baking soda and vinegar aligns well with efforts to minimize chemical exposure and reduce reliance on synthetic fragrances. It also supports a sustainable approach to kitchenware care: rather than discarding containers at the first sign of odor, you can often restore their freshness with minimal waste and expense. This is particularly meaningful for households that reuse containers for children’s lunches, meal-prep portions, or leftovers—situations where odor control is linked to daily routines and peace of mind. The shared goal is not just odor removal but preserving the container’s life and keeping food storage safe and pleasant.
In practice, you may also encounter situations where a container’s odor lingers despite your best efforts. In such cases, a broader preventive habit becomes valuable. For example, after completing a thorough baking soda or vinegar treatment, you can place a small sachet of dry, used tea leaves or coffee grounds inside the empty container and seal it for a short period. These natural absorbents help capture residual scents in a non-toxic way. Activated charcoal is another option some households find effective for deeper odor absorption. The idea is simple: use a neutral, non-toxic neutralizer that complements the cleaning methods rather than replacing them.
As you refine your routine, consider how the steps you take fit with your broader kitchen hygiene practices. A clean container is only one aspect of a clean feeding environment. Regularly washing containers with warm, soapy water after use, drying completely, and avoiding prolonged storage of strongly scented foods in closed containers all contribute to odor control over time. The baking soda and vinegar methods discussed here are not a substitute for good hygiene; they are an enhancement that targets stubborn smells when ordinary washing falls short. And because these methods rely on readily available, natural ingredients, they offer a practical, low-cost way to maintain freshness without introducing harsh chemicals into your home.
For readers who want to explore packaging options that may influence odor retention in the first place, consider the broader ecosystem of takeout and storage solutions. A useful starting point is recognizing how different designs and materials can affect odor absorption and cleaning ease. For instance, container bodies or gaskets made from certain polymers might respond differently to acids and abrasives. When in doubt, test a small area and monitor for any change in texture or color. If a container shows signs of wear—scratches, discoloration, or a persistent chemical smell even after cleansing—it may be time to replace it. While it can be tempting to extend the life of a container, safety and odor control should guide your decision.
In short, baking soda and vinegar provide a versatile, natural toolkit for deodorizing plastic food containers. Their complementary actions address both surface residues and deeper embedded smells, offering a practical path to fresher storage without resorting to aggressive chemicals or disposable alternatives. By combining careful initial cleaning, a paste-based treatment for light odors, and a fizz-based soak for tougher cases, you can maintain a quiet sense of confidence in your containers. Pair these methods with mindful storage practices and periodic preventive cleanings, and your plastic storage will remain a reliable ally in your kitchen routine.
If you’d like to explore a related angle on this topic—especially how packaging design and materials influence odor dynamics in home storage—you can check out a related exploration of sustainable packaging options. For readers curious about eco-conscious choices in takeout packaging, a relevant resource highlights how different materials balance practicality with environmental considerations. This can provide a broader frame for understanding why certain containers may hold odors more stubbornly and how careful care can extend their usable life. As you continue to refine your approach, you’ll find that a small set of natural routines can keep odors at bay while supporting a cleaner, more sustainable kitchen.
Internal resource for further context: eco-friendly takeout boxes for food packaging.
External resource (science-backed guidance): For a thorough overview of food safety and odor management in household storage, see the University of Illinois Extension’s guidance on food safety and odor control. University of Illinois Extension Food Safety.
Citrus and Sunlight: A Gentle, Natural Path to Deodorize Plastic Food Containers
Odors cling to plastic containers long after the last bite, creeping from garlic, onions, and fried foods into the walls and seals where they seem to linger forever. Even after a routine wash, a faint taint can remind us that a meal once lived there. The persistence of these smells is not just a nuisance; it can influence how eagerly we reach for our lunch the next day. The surface of many plastic containers is porous at a microscopic level, and the gasket that seals the lid often traps tiny bits of food residue that refuse to surrender. Conventional washing helps, yet some odors resist detergents and elbow grease. This is where a natural, patient approach can shine: a method that relies on two simple, readily available allies in most homes citrus and sunlight. The idea is straightforward but surprisingly effective. Citrus oils carry a bouquet of terpenes that interact with odor-causing compounds, and sunlight adds a twofold benefit. The heat accelerates the evaporation of volatile molecules, while the ultraviolet light helps reduce bacterial presence that can contribute to lingering smells. The combination is gentle, chemical-free, and supported by practical, easy-to-follow steps that fit neatly into everyday routines. It is not a magic cure for every container, but it offers a reliable path for many of the common odors that accumulate in everyday use, especially after foods with strong aromas have shared space with plasticware for a while.
To begin, imagine a calm, sunlit afternoon, a small pile of fresh citrus peels, and a clean plastic container awaiting renewal. The technique rests on three core ideas: maximize contact between citrus oils and the container’s interior, apply controlled heat and light to drive off odor molecules, and finish with a thorough rinse to remove any citrus residue and restore a neutral scent. The approach is most effective when the container is otherwise clean. Before you embark on this citrus-sunlight journey, take a moment to confirm that the container has no deep scratches, warping, or signs of heat damage. If the plastic has begun to degrade, or if the odor is stubborn and chemical in nature, it may be time to consider a replacement rather than a prolongation of the process. The guidance here is designed to be safe and practical for typical kitchen plastics, especially those labeled as microwave-safe or dishwasher-safe, but it remains essential to respect manufacturer guidelines and the individual limits of any container you own.
The citrus and sun method unfolds in a simple sequence, but the sequence matters. Begin with a clean slate. If the container is mildly odorous, a warm-water wash with a mild dish soap will often suffice as a first step. Pay particular attention to the corners, the edges, and the sealing gasket around the lid. Odor-causing residue loves to hide in those tight spaces, and a soft brush or sponge can reach where a rough sponge cannot. Rinse thoroughly to remove any soapy film, then dry completely. A dry interior is important because moisture can interfere with the next stage and can encourage the growth of any residual bacteria during the sun exposure.
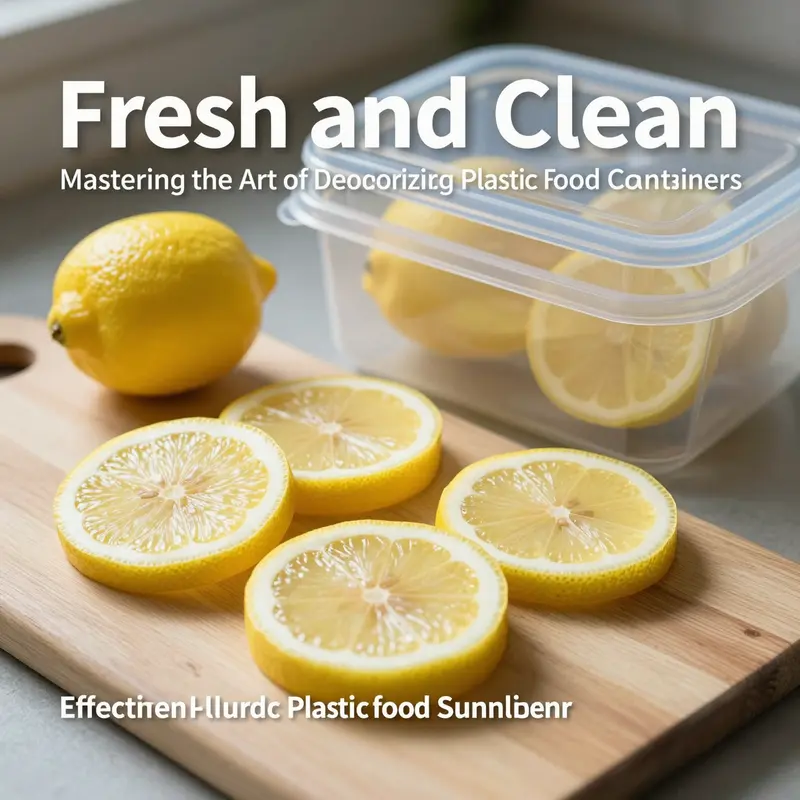
With a clean interior, you are ready to introduce the citrus touch. Fresh citrus peels are the main instruments here. Orange, lemon, and lime peels all carry essential oils that have natural deodorizing properties. The aim is not to flavor the container with citrus but to bathe the interior in a thin layer of citrus oil and fragrance that can help neutralize lingering odors. Spread the peels inside the container in a way that maximizes surface area. Whole peels can be used, but thinly sliced peels or segments of peel are even better because they expose more oil-rich surfaces to the plastic walls. There is no need to soak high volumes of peels; a well-distributed layer is sufficient to begin the process. If you have a particularly stubborn odor, you may choose to rub a small amount of the peel’s outer zest along the interior walls. The zest contains concentrated essential oils that can intensify the effect, but use this technique sparingly to avoid any potential staining or residual citrus residue that might require additional rinsing.
Once the peels are in place, the next step is to introduce sunlight. Place the container in direct sunlight, lid removed, so air can circulate freely as the citrus oils perform their work. The exact duration can vary, but a practical window is between two to six hours depending on the intensity of the odor and the strength of your sunlight. The sun’s heat helps evaporate volatile components more quickly, while the UV rays, though more modest in household settings, contribute to sanitizing the interior by reducing surface bacteria that can contribute to odor formation. If your climate or schedule makes a long sun exposure impractical, you can break the process into two shorter sessions across the day. What matters is allowing enough time for the citrus oils to interact with the container’s walls while maintaining a dry interior and avoiding overheating the plastic. It is also important to monitor the container for any signs of heat sensitivity. If you notice warping, discoloration, or a softened texture, remove the container from direct sun and discontinue the method for that item.
After the solar journey, rinse thoroughly with cool water and a little mild soap. The citrus oils can leave a faint fragrance, which is typically pleasant and quickly fades once air-dried. A complete rinse is essential to prevent a lingering citrus layer from masking the original odor or transferring to foods later stored in the container. Air-dry the container completely before reassembling the lid. If you prefer, you can wipe with a clean towel to speed up the drying process. A fully dry interior reduces the chance of residual moisture hosting unseen bacteria, especially in a gasket or seam where moisture can collect. The result—a refreshed interior aligned with the neutral space you want for your next meal.
There is a natural extension to this approach that can bolster its deodorizing power without complicating the routine. A light, optional enhancement involves combining the citrus-sun approach with a short baking soda step. Before you place the citrus peels inside, sprinkle a small amount of baking soda at the bottom of the container. Baking soda has long been celebrated as an odor absorber. It is mild, non-abrasive, and non-toxic, making it compatible with most plastics and food-contact surfaces. The baking soda acts as a first line of defense, soaking up residual moisture and trapping some of the odor-producing molecules before the citrus oils can do their work. After a brief moment, you add the citrus peels and continue with the standard sun exposure. The baking soda works in the background, potentially enhancing overall results, especially for containers that tend to hold onto faint, persistent odors.
The beauty of the citrus-sunlight method lies not only in its effectiveness but in its safety and simplicity. It offers a chemical-free option that aligns with everyday kitchen habits. It also carries a gentle, natural fragrance that most people associate with cleanliness rather than with chemical cleaners. This makes it an approachable technique for households with children or for those seeking to minimize synthetic cleaners in the home. Moreover, because you are using fresh peels, there is no risk of residual synthetic residues being introduced into the container. The method respects the integrity of the container while focusing on the interior environment where odors reside. It is easy to adapt to different container sizes and shapes, from compact snack boxes to larger rectangular containers used for leftovers. The approach is versatile and adaptable, friendly to busy households, and forgiving enough to accommodate variations in sunlight, peel type, or odor intensity.
One practical caveat worth noting concerns the condition of the container itself. The citrus-sunlight method relies on the stability of the plastic under heat and UV exposure. Some plastics tolerate sunlight well, while others accumulate micro-damage over repeated heat cycles that may compromise safety or performance. Always consult the container’s labeling, and if there is any doubt about heat or UV tolerance, err on the side of caution. If a container has visible cracks, a dull finish, or signs of warping, it is prudent to retire it from heat-based deodorizing routines. Persistent odors, particularly those that smell chemically or plasticky, may indicate deeper issues within the plastic that a routine cleaning cannot resolve. In these cases, replacing the container becomes the safest course.
Within the broader spectrum of deodorizing options, the citrus-sun technique harmonizes with other natural methods described in guidance from reputable sources. For mild odors, combining citrus with a small baking soda touch can be a graceful way to enhance absorption without introducing harsh chemicals or heavy fragrances. For stronger smells, more traditional approaches—such as a baking soda soak, a white vinegar rinse, or a lemon juice wash—can be applied as complementary steps in a larger deodorizing routine. The important point is to approach deodorization as a gentle, multi-step process that respects the plastic and avoids haste. Odor removal rarely occurs in a single dramatic solution; it often benefits from patience and a careful sequence of steps that gradually reduce the odor burden while maintaining the container’s integrity.
If you are thinking about how this method fits into a broader cleaning practice, consider the role of timing and routine. A quick citrus-sunlight refresh can be a practical weekly ritual for containers used for strong-smelling foods. For containers that are used less frequently, a periodic citrus-sunlight refresh can help maintain interior cleanliness and prevent odors from taking root. The key is to observe how your containers respond to the method and adjust the duration of sun exposure or the intensity of the citrus contact accordingly. With experience, you can tailor the approach to your kitchen rhythm, balancing energy, time, and the desire to keep plastics fresh and ready for reuse.
From the perspective of practical kitchen hygiene, the citrus-sunlight approach is about more than odor elimination. It is a reminder that natural, everyday ingredients can play a meaningful role in maintaining the hygiene and usability of kitchen tools. It aligns with a broader philosophy that emphasizes practicality, safety, and a light touch of nature in daily routines. When used with care, it supports a simple, cost-effective pathway to odor control that does not require specialized equipment or expensive cleaners. It is a gentle technique that respects the life cycle of plastic containers, encouraging responsible use, mindful cleaning, and careful replacement when necessary. In this way, it serves as a connective thread between the familiar act of washing dishes and the more thoughtful practice of preserving the quality of everyday containers for the foods you prepare and store.
For readers who enjoy exploring practical links to related household practices, there is a straightforward way to explore containers that align with the same sustainable ethos. If you are considering containers that double as takeout packaging and want options that complement natural deodorizing methods, you might look at eco-friendly disposable takeout boxes for food packaging. These products often emphasize material safety, durability, and design that supports straightforward cleaning and reuse in appropriate contexts. eco-friendly disposable takeout boxes for food packaging. This additional context can help you choose storage and packaging solutions that harmonize with natural deodorizing practices while supporting sustainable habits in the kitchen and beyond.
The broader lesson remains simple and practical. Odors in plastic containers arise from a combination of trapped residues, the nature of the foods stored, and the microstructure of the plastic itself. Citrus oils and sunlight, thoughtfully applied, offer a gentle and effective path to reduce those odors, especially when you approach the process with patience and careful attention to container integrity. The method respects the limits of the material, leverages readily available resources, and provides a low-risk approach for everyday kitchen routines. It invites you to experiment a little, observe the results, and refine your method over time. In seasons of strong smells or frequent use of aromatic foods, this approach serves as a reliable companion to the broader set of odor-elimination techniques discussed in the article, always guided by the principle of safety, practicality, and a respect for the materials that store our meals.
For more information on evidence-based guidelines and safe kitchen practices, you can consult established resources that review natural deodorizing methods and their efficacy in household settings. A reliable source confirms the value of natural strategies like sunlight and citrus as effective options for deodorizing kitchenware without introducing synthetic chemicals. To explore this guidance further, you can visit UC ANR, which offers evidence-based recommendations on household cleaning practices. The link provides a broader context for natural, safe approaches to maintaining kitchen items and reducing odors through well-supported methods. https://ucanr.edu/sites/foodsafe/
In sum, citrus and sunlight offer a thoughtful, approachable way to refresh plastic containers that have absorbed the aromas of garlic, onion, curry, or fish. By starting with a clean interior, spreading fresh citrus peels to maximize surface contact, allowing direct sun exposure for a carefully timed period, and finishing with a thorough rinse, you can restore freshness without resorting to harsh chemicals. A light baking soda boost can further enhance performance, especially for stubborn cases. This pathway fits naturally within a broader deodorizing toolkit that honors safety and the everyday realities of kitchen life, helping you keep your plastic containers ready for the next meal with minimal effort and maximum comfort for your senses. If you are seeking a practical, reliable approach that aligns with a sustainable, natural mindset, the citrus-sunlight method stands as a gentle, effective option worth trying, again and again, as part of your ongoing commitment to clean, fresh, and safely stored food.
External resource: UC ANR guidance on natural, everyday deodorizing practices for household items.
Final thoughts
Maintaining fresh and odor-free plastic food containers is crucial for businesses in the food and beverage industry. By employing thorough cleaning techniques followed by natural deodorizing methods using baking soda, vinegar, citrus, and sunlight, businesses can ensure the longevity and professional appearance of their containers. A commitment to quality extends beyond the food; it’s also about how you present your service. By adopting these practices, you’ll not only meet hygiene standards but also enhance customer satisfaction and trust. Keep your containers clean and fresh for the betterment of your business and the enjoyment of your patrons.