
Cleaning resin from plastic cups is a critical yet often overlooked task in the beverage industry. Whether you run a bubble tea shop, restaurant, or catering service, the presence of resin—whether from craft projects or product mishaps—can affect both service quality and aesthetics. Not only can cured resin create unsightly residue, but it can also compromise the integrity of your disposable plastics if not managed correctly. This guide will provide effective methods for both uncured and cured resin, ensuring you maintain a clean and professional image. Additionally, it will highlight safety precautions and necessary tools specific to your needs, facilitating a smooth cleaning process that avoids damage to your valuable serving items.
From Fresh Spill to Spotless Cup: Mastering Resin Cleanup in Plastic Cups When Resin Is Uncured
Resin cleanup in plastic cups is a test of timing, technique, and the willingness to adapt your tools to the plastic you’re working with. In a small, everyday object—the cup that once held a cold drink or a snack—resin presents a microcosm of the adhesive chemistry at play. The resin’s status, whether it is still uncured or has already cured, sets the tempo for what you do next. The approach is not a single recipe but a practiced rhythm: assess, act quickly if possible, and choose a method that respects the plastic’s boundaries while dissolving or lifting the resin without leaving a new set of marks behind. When resin meets plastic, the goal is not merely to remove a stain but to preserve the cup’s integrity and its surface, so the vessel remains reusable for food-safe tasks or future resin projects with clear boundaries between uses. This chapter weaves together the core ideas from the most reliable, field-tested methods into a coherent path that you can follow without needing a long toolkit or exotic solvents. It emphasizes patience, careful testing, and gentle persistence, and it keeps in mind what plastic cups are generally made of and what those materials can tolerate.
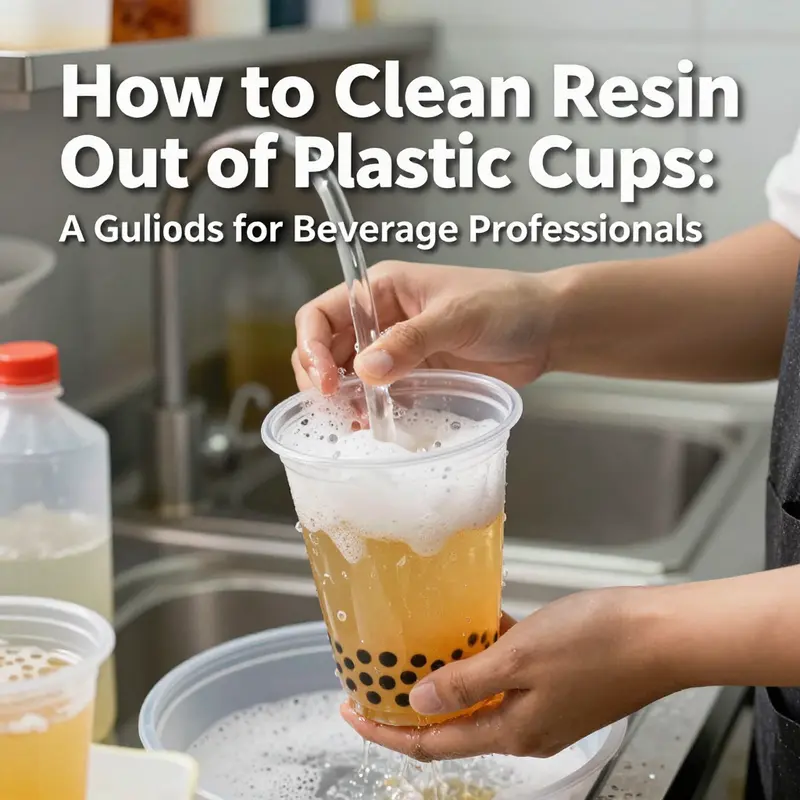
Imagine the first moment resin touches your cup. If the resin is still uncured, it behaves like a sticky film that can smear and smear again. It is precisely in this moment that action matters most. The simplest, most reliable first move is to rinse with warm water immediately. A quick rinse helps remove the most obvious excess resin before it begins to set. It is followed by a gentle scrub with a soft brush or cloth and mild dish soap. Warm water helps soften the initial mess and gives the brush an easy glide across the surface. The guiding principle here is straightforward: avoid anything abrasive that could scratch the plastic. Scratches create tiny nooks that trap residue, making future cleanups harder rather than easier.
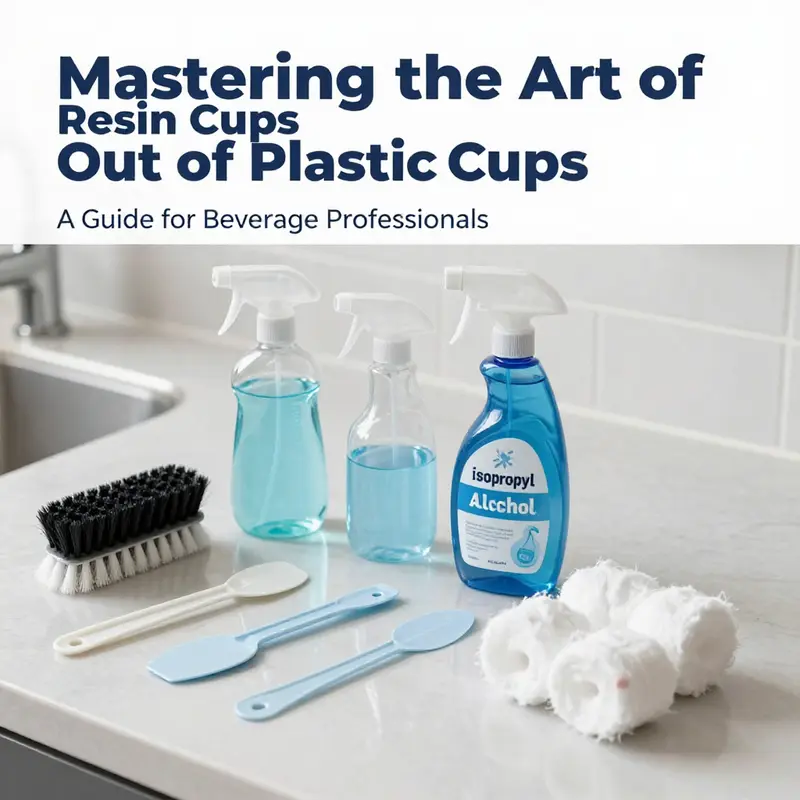
But there is more to uncured cleanup than soap and water. If you catch the spill very early, a solvent can act quickly to dissolve the resin before it hardens. For this, acetone or isopropyl alcohol can be effective. Apply the solvent directly to the resin with a cotton ball or cloth, let it sit for a few minutes, and then wipe it away. This step works best when the resin remains soft and the cup’s surface is compatible with the solvent. It is a reminder that the plastic’s chemistry matters. Some plastics tolerate acetone well, while others may swell or discolor. In practice, the decision to use a solvent should be guided by a quick test in an inconspicuous area if you are unsure. If the cup is one of the common, sturdy plastics, moderate solvent use in a controlled manner can save the day. This is not a blanket prescription; it is a careful option to consider when speed and clean results matter.
When the resin is still uncured but not liquid enough to wipe away easily, a gentle physical removal can help. For small amounts, a blunt tool such as a plastic spatula can lift the resin with minimal risk to the cup’s surface. The goal is to avoid scratching while guiding the resin into a spot you can wipe clean. This tactile approach blends with the chemical approach: you can alternate short solvent applications with careful scraping to “lift” resin gradually rather than rub it harder and risk a smoother surface turning rough.
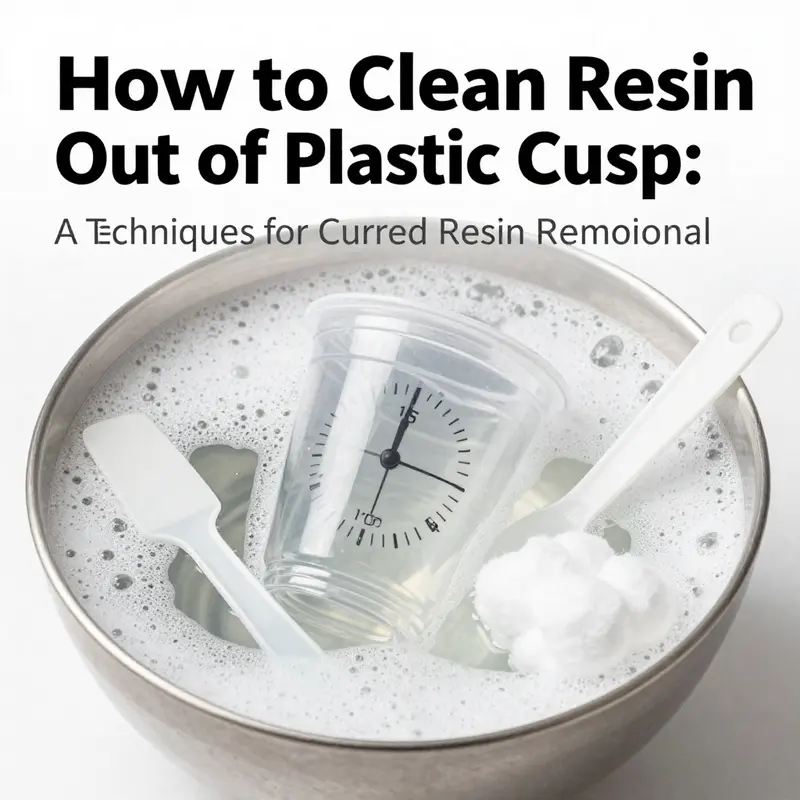
In addition to immediate rinsing and gentle solvents, a deliberate soak can be a practical step for uncured residues that linger after the first clean. Soaking the cup in hot water for 10 to 15 minutes can help soften the resin further, enabling a wipe or a light scrape to do the rest. The heat aids the resin’s plasticity without necessarily compromising the cup’s form if kept within reasonable limits. After soaking, wipe again with soap and water, or perform a careful scrape with a plastic tool as needed. This soaking step creates a predictable sequence: heat, soften, wipe, and inspect. If any residue persists, a mild abrasive approach—like a baking soda paste described below—can be employed with caution.
Baking soda, that household multitasker, can be surprisingly effective when used as a gentle abrasive. Create a paste with a small amount of water and rub the affected area with a soft cloth or sponge. The mildly abrasive nature of baking soda helps lift resin without scratching the surface. This step is especially useful for stubborn spots where soap and water have made little impact. It is not your first move but rather a measured follow-up before moving to stronger solutions. If you are uncertain about how the cup will react to any abrasive, test the paste on a small, hidden area first. The goal is to improve grip and abrasion just enough to lift, not to abrade the surface.
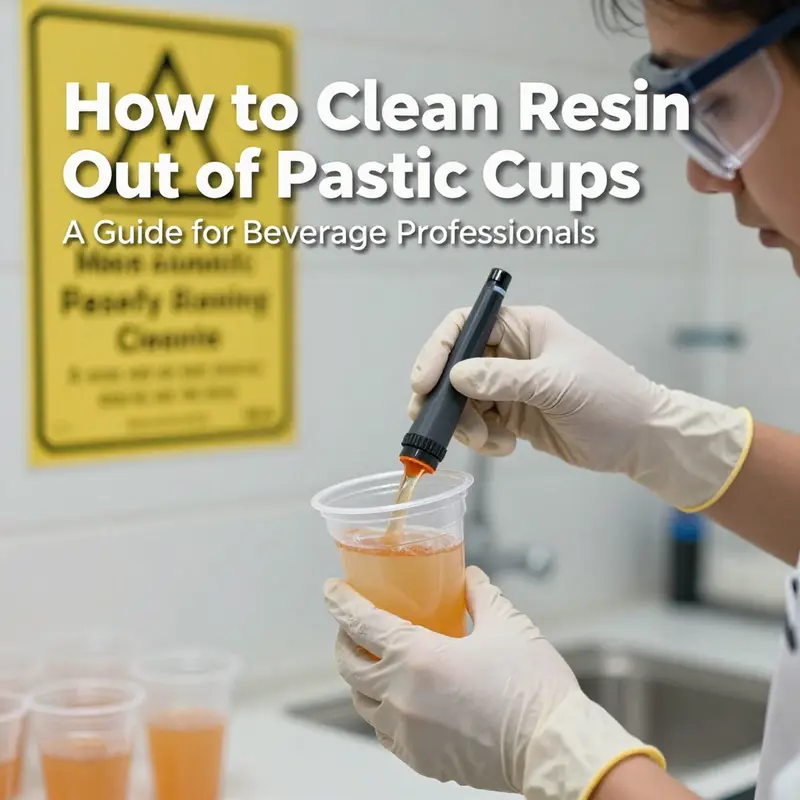
For more stubborn or hardened resin that resists these gentler tactics, a professional cleaner designed for resin removal may be warranted. These products are formulated to break down resin while minimizing damage to common plastics. As with any chemical treatment, test first on an inconspicuous area to confirm that the surface remains intact and the finish does not dull or cloud. If you proceed, follow the instructions on the cleaner precisely and keep the workspace ventilated. Ventilation is a safety note that cannot be overstated when solvents are in play. The principle remains simple: use the cleaner as a last resort when gentler steps have not fully succeeded. And after any cleaning step, rinse the cup thoroughly with clean water and dry completely to prevent any residue from lingering or a future buildup from forming on a damp surface.
Prevention is the quiet partner to any cleanup. To minimize future headaches, consider using disposable cups or dedicated containers for resin projects. Do not mix resin with items intended for food or drink unless they are specifically designed for that purpose. By controlling the transfer points—where resin meets plastic—you reduce the chances of setbacks and the need for aggressive cleanup later. This is not merely about hygiene but about protecting the cup’s surface and your time.
If resin spills into a plastic cup, act quickly and thoughtfully. The longer it sits, the more likely curing will set in and the more difficult cleanup becomes. Proper ventilation when using solvents like acetone is a safety necessity, and it is also a reminder that you are working with a chemical process that benefits from a calm, methodical approach rather than brute force or improvisation. The hands-on techniques matter most when the resin is fresh; they become even more important as curing begins, because the window of opportunity to remove resin cleanly narrows with each passing minute.
Now, the practical path through cured resin requires a slightly different tempo. When resin has already cured, you may need more time and a combination of methods. Start with soaking in hot, soapy water for 15 to 30 minutes. Heat softens cured resin and allows you to lift it with a non-abrasive tool like a plastic spatula or wooden spoon. If a spot remains stubborn, a 75 percent isopropyl alcohol (rubbing alcohol) solution can help dissolve and soften the resin without dissolving the plastic itself. Apply the alcohol to the target area with a cotton ball or cloth, then let it sit for 5 to 10 minutes. Gently rub or scrape the softened resin. Alcohol is compatible with many common plastics such as polypropylene (PP) or polyethylene terephthalate (PET), but always confirm and proceed cautiously.
If alcohol is not available or if you prefer a non-alcohol method, white vinegar offers an alternative that can break resin bonds over time. Soak the cup in a mixture of equal parts white vinegar and hot water for 20 to 30 minutes, then scrub with a soft brush. Vinegar’s acidity helps loosen the bonds between resin and plastic, but it may require more time and a bit more elbow grease. For particularly tenacious spots, a careful, short application of heat can be used to soften the resin. A heat gun or blow dryer can be employed briefly to warm the area; keep the heat on a low setting and move it constantly to avoid overheating and warping the plastic. Once softened, wipe or scrape the resin away while warm. Above all, avoid acetone or strong solvents for cured resin, as these can damage or dissolve many plastics, leading to cracking, clouding, or other surface imperfections.
Finally, a thorough rinse remains essential. After any cleaning method, rinse the cup with clean water to remove any solvent residue or vinegar, and then dry completely. Residue left behind can attract new dust or debris and create a fresh surface for resin to bond in the future. Drying ensures the cup is truly clean and ready for either future resin work or safe food use if the cup is designated for non-food tasks. The goal is not a single perfect wipe but a complete, deliberate process that respects the plastic’s limitations and the resin’s stubborn chemistry.
In addition to the steps outlined, a small mental checklist can streamline your cleanup workflow: identify uncured versus cured, assess the plastic type conservatively, test a tiny inconspicuous area first for any solvent exposure, perform the lightest clean first, and escalate gradually only as needed. Keep a minimal, well-ventilated workspace, and never push a method beyond what the cup can safely tolerate. And if at any point you feel unsure about the plastic’s response to a solvent, revert to a milder approach and build from there. The path to a spotless cup is a blend of caution and persistence, not a single knockout method.
For further reading and a broader look at resin-related chemistry and its interactions with plastics, you can explore general reference material on resin—and use it to inform safer cleanup practices in varied contexts. If you want a practical, consumer-facing example of plastic cup usage and cleaning, you can refer to the following internal resource on disposable plastic cups for everyday use and cleanup considerations: disposable clear plastic cups.
In sum, whether resin is uncured or cured, the cleanup of plastic cups hinges on a thoughtful mix of immediate action, gentle mechanical removal, and, when necessary, carefully chosen chemical aids. The sequence should always start with the least invasive method and progress to more targeted approaches only as needed. By pairing quick response with a respect for the cup’s material, you protect both your equipment and your time. The cup remains a vessel you can trust for future uses, while your resin project continues with that same careful discipline that made these cleanups possible in the first place. And if you ever need a broader framing of what resin is and how it behaves in various contexts, a general resource on resin chemistry can provide welcome context: https://en.wikipedia.org/wiki/Resin
Resin on the Rim: Techniques for Removing Cured Resin Without Damaging Plastic Cups
During cleanup of resin in a plastic cup, the approach depends on whether the resin is still uncured or already cured. Uncured resin is soft and can usually be removed with a warm water rinse and gentle scrubbing with a soft brush and mild soap, avoiding abrasives that could scratch the surface. If resin has cured, start with mechanical lifting when possible, then apply controlled heat using a hair dryer, and switch to a plastic scraper. If heat alone does not release the resin, use a gentle solvent such as isopropyl alcohol at seventy to ninety percent, applied with a cotton swab and left for several minutes before rubbing. Acetone is a last resort due to potential damage to plastics. A warm soapy soak can help loosen stubborn spots, and a vinegar solution can be used as a milder option. Always test a small inconspicuous area first, vent the workspace, wear gloves, and rinse thoroughly after solvent use. The guiding principle is to start with the mildest method and escalate only as needed to protect the surface and keep the cup safe for future use. After cleaning, ensure the cup is completely dry and inspect for clouding or residue.
Graceful Cleanup: Safety-First Techniques for Removing Resin from Plastic Cups
Resin work often leaves more than a glossy finish on the project it’s meant to harden. The cups used during mixing, pouring, or curing can become stubborn reminders of a flow that didn’t quite stay contained. This chapter follows a single, human-centered path: how to clean resin out of plastic cups with care, precision, and safety. Whether the resin is still uncured and soft or fully cured and stiff, the approach should protect both the cup and the person handling it. The guidance here centers on practical steps, reinforced by safety principles that prevent harm and plastic damage. The goal is not to rush the cleanup but to do it in a way that reduces mess, preserves the cup for reuse when possible, and minimizes exposure to hazardous fumes or skin contact. In practice, this means recognizing two states of resin, choosing nonabrasive tools, avoiding heat, and using compatible cleaners in measured ways. It also means planning ahead to prevent future incidents, which often matters more than the immediate removal of a stubborn deposit.
When resin is fresh or uncured, time is on your side in a quiet, straightforward way. Start by rinsing the cup under warm water. The warmth loosens the outer tackiness and helps rinse away the bulk of excess resin before it has a chance to set. The warmth should be comfortable to the touch, not scalding hot; extreme heat can begin to soften resin further or, in some cases, release vapors that are not ideal in a small, enclosed space. After the initial rinse, employ a soft brush or cloth with mild dish soap and more warm water. Gentle scrubbing is the key. The aim is to lift the resin without scratching the plastic surface. Abrasive pads or steel wool, even if they seem effective, can leave micro-scratches that become catching points for resin in a subsequent use. A light touch now pays off later when the cup is cleaned and ready for another round of use.
If the resin still clings after that initial clean, a little patience goes a long way. Let the resin sit in warm, soapy water for a bit longer if needed. The idea is to allow the surface to loosen gradually rather than forcing the issue with more pressure. Long, slow swipes with a soft sponge or a flexible plastic brush can lift residue that appeared stubborn at first. The gentle approach respects the plastic’s surface integrity and reduces the risk of creating microcracks, which can harbor resin in the future. Throughout this process, avoid harsh abrasives, metal scrapers, or anything that could scratch or dull the cup’s finish. Even if the resin seems to come off more readily with a firmer motion, the risk of long-term damage to the cup is not worth the temporary gain.
For resin that has moved beyond the fresh, tacky stage and entered a cured or near-cured state, the process shifts from simple washing to careful breaking of bonds without compromising the cup. A widely used approach is to soak the cup in hot, soapy water for about 15 to 30 minutes. This step, when done with caution, can soften the surface just enough to permit gentle scraping with a non-abrasive tool such as a plastic spatula or a wooden spoon. The emphasis remains on non-metal tools because metal can scratch or gouge while scraping. The key throughout is to monitor the cup for any signs of warping or clouding; if the plastic begins to deform, it is a signal to stop and reassess.
If soaking and gentle scraping fail to remove the stubborn residues, a chemical method becomes the next line of action. Isopropyl alcohol, in a concentration of around 70 to 90 percent, is a practical option that dissolves resin bonds without rotting most common plastics like polypropylene or polyethylene terephthalate. The method is straightforward: dampen a cotton pad or lint-free cloth with rubbing alcohol and press it onto the affected area for five to ten minutes. The resin should begin to soften, and you can then rub or scrape with light pressure. It is wise to test the alcohol on a small, inconspicuous spot first because some plastics—especially certain ABS blends or colored resins—may react differently to alcohol. If you notice any fading, dulling, or mild haze, stop and re-evaluate your approach.
There are alternative approaches worth knowing, but they require caution. White vinegar, when used as a soak with hot water in equal parts, can help break resin’s bonds over time. Soaking the cup in this mixture for twenty to thirty minutes, followed by a gentle scrub, may loosen hard-to-reach spots. The familiar scent of vinegar is a reminder that you are employing a milder, more natural solvent compared with stronger organics. This method is gentler on plastics but typically slower and less aggressive than alcohol. It offers a compromise for cups made from more delicate materials or for users who prefer not to use alcohol around culinary gear. Regardless of the method, finish with a thorough rinse using dish soap and warm water to remove any solvent residues. A final dry with a soft towel or air-drying helps prevent new residue from accumulating.
One more technique, though it should be used with restraint, involves gentle heat. A cautious touch with a heat source—such as a heat gun or hair dryer—can soften resin further so it can be wiped away. However, heat must be used only briefly and at a distance that avoids overheating the plastic. The risk here is real: too much heat can warp, crack, or cloud certain plastics, particularly polycarbonate or acrylic varieties. If you choose to employ warmth, do so in a well-ventilated area and stand ready to switch to mechanical or chemical steps if the plastic begins to show any stress. The overarching message on heat is simple: skip aggressive heating in favor of gentler methods that preserve the cup’s original shape and clarity.
Throughout the cleanup, two broad principles anchor safe practice. First, never introduce heat sources to speed the removal process. Second, avoid abrasive tools that could cause micro-scratches or structural damage to the cup. Both risks—softened resin and damaged plastic—can create new sites where resin can cling in future uses, undermining the entire effort. After you have removed the resin as thoroughly as possible by one or a combination of these methods, rinse the cup again with clean water and dry it completely. A dry surface discourages residue buildup and helps you spot any remaining spots that might require a repeating pass with a chosen method.
Beyond the mechanics of cleanup lies a pragmatic approach to preventing future resin sticking. Do not pour resin into food-grade plastic containers. Use dedicated non-porous vessels for resin work, preferably glass or silicone for mixing and curing; these materials resist chemical absorption and are easier to clean. Clean immediately after use whenever possible, while resin is still more forgiving and not fully cured. Label your tools clearly so that items used for resin work are not mistaken for regular kitchen gear—this reduces cross-contamination risks and helps you maintain a safer workspace. The combination of careful setup, prompt cleanup, and thoughtful storage becomes a reliable routine that saves time and protects both the cups and the people using them.
If you want a practical reference that aligns with these general guidelines, consider a dedicated resource on resin cleanup procedures that emphasizes safety and compatibility. For context on the cups and materials discussed here, you can consult a product page that highlights disposable clear plastic cups for parties and events. This page provides a concrete example of the type of non-porous cups often used in resin experiments and demonstrations, offering a tangible link between theory and practice. disposable clear plastic cups for parties.
Just as important as the techniques themselves is the mindset you bring to resin cleanup. A cautious, methodical approach yields safer outcomes and longer-lasting cups. When you plan a cleanup, you are not just removing resin from a surface; you are protecting your workspace, your health, and the integrity of the tools you rely on next time you begin a new batch. The steps described here are a practical roadmap, and the emphasis remains on safety over speed. The resin may be stubborn, but with the right combination of gentle cleaning, patient waiting, tested solvents, and heat restraint, you can restore the look and usability of plastic cups without compromising their structural integrity. The chapter’s core message is clear: safety-first cleaning is not an afterthought but an essential habit for anyone working with resin.
For ongoing safety and best-practice updates, consider consulting MSDS or technical data sheets from resin brands you trust. These documents offer precise guidance on compatible cleaners, recommended work environments, and disposal procedures that reflect current formulations and standards. While the core approaches outlined here apply broadly, resin formulations evolve, and keeping up-to-date information ensures both effectiveness and safety in your cleanup endeavors. External resources can provide deeper nuance about fumes, skin exposure, and ventilation considerations that complement the practical steps described above. As you continue your resin projects, let safety be the steady hand that guides every cleanup, from the first rinse to the final dry, so that plastic cups stay reliable aids rather than archival reminders of a messy experiment.
External safety reference: https://www.artresin.com/pages/how-to-clean-up-resin
Resin Rescue for Plastic Cups: A Practical Guide to Safe, Effective Cleaning
Resin has a reputation for sticking around long after a project or spill, and plastic cups can become unlikely culprits in the drama. Resin is a polymer that, once cured, forms a tight, almost fossilized film on smooth surfaces. The challenge is not just removing the visible residue; it is removing it without altering the cup’s shape, clarity, or strength. The process depends on whether the resin is still uncured, soft and sticky, or fully cured and hard. A careful approach, paired with the right tools and timing, can recover a cup that seems ruined and extend its usefulness rather than requiring disposal. What makes resin on plastic cups particularly tricky is the chemistry behind both the material and the contaminant. Resin films can bond through mechanical interlock with microtexture on the cup’s surface, and once cured, the bond becomes more like a chemical adhesion. The two-phase path—start with gentleness for uncured resin, then escalate to targeted solvents for cured resin—offers the best balance between cleaning power and material safety. The overarching rule is simple but powerful: test any solvent in a hidden corner first, use the mildest effective method, and protect your skin and lungs with basic safety practices. When you approach resin on plastic cups with this mindset, the journey from grungy to pristine becomes less of a battle and more of a controlled restoration.
The first moment of decision is recognizing the resin’s state. If the resin is still soft, it behaves much like a sticky spill. It clings to plastic because it is tacky and mobile, and the surface is still compatible with mild cleaners. In this state, the goal is to remove loose material quickly and then wipe away what remains with gentle friction. Warm water plays a crucial role here, and a soft brush, like an old toothbrush, can reach crevices around rims and handles where resin may have seeped. Dish soap helps to cut through the film without assaulting the plastic. The key is to avoid any harsh abrasives that could scratch the surface and create new nooks for future resin to cling to. Scrubbing in a circular motion, with light pressure, often lifts uncured residue in a matter of minutes. The procedure becomes a careful dance: rinse, scrub, rinse again, and dry. The emphasis on temperature—warm rather than hot—matters, because heat can alter the cup’s shape or gloss if the plastic is sensitive.
When the resin has fully cured, the surface becomes resistant to simple rinsing. The residue has hardened into a solid film that requires more deliberate intervention. The most effective approach blends chemistry with careful physical manipulation. For small amounts of cured resin, a practical first move is to soak the cup in hot, soapy water for 15 to 30 minutes. This brief immersion can soften the film enough to permit gentle scraping with a non-abrasive tool, such as a plastic spatula or a wooden spoon. The objective is not to scratch but to lift. A soft, patient scrape along the resin’s edge can loosen a seam where resin has bonded to the cup. If the resin stubbornly refuses to yield, the cleaning sequence moves to a solvent.
Isopropyl alcohol, at 70% or higher, is a reliable ally in dissolving many cured resins. It evaporates quickly and leaves little residue, which is ideal for plastics commonly used in consumer cups, such as polypropylene (PP) and polyethylene (PET). Apply the alcohol to the stained area with a cotton ball or soft cloth, let it sit for 5 to 10 minutes, and then gently rub or scrape away the softened film. The alcohol’s action is twofold: it softens the polymer network enough to release its grip, and it begins to carry away dissolved resin. Be mindful to avoid rough scrubbing that can generate micro-scratches. After treatment, rinse thoroughly with clean water to remove any dissolved resin and solvent traces.
If cured resin remains in stubborn pockets, an alternative or supplementary step is white vinegar paired with heat. A soak in equal parts white vinegar and hot water for 20 to 30 minutes can help disrupt the resin’s adhesion without aggressive solvents. Scrubbing with a soft brush afterward often finishes the job. Vinegar’s acidity can gently destabilize certain resin bonds, particularly when heat has softened the surface. This approach is gentler on most plastics and can be a good option for cups that show a bit of wear from previous cleaning attempts.
A note on heat: a heat gun or a hair dryer used briefly can raise the resin’s temperature and soften it further, but it must be used with extreme care. Overheating can warp or melt some plastics. If you do employ warm heat, keep the device at a safe distance and alternate between soft wiping and gentle scraping while the surface remains warm but not hot. The goal is to maintain control and prevent distortion.
The caution against stronger solvents is not arbitrary. Acetone, while highly effective on certain resins, can be damaging to many common plastics. The rule of thumb is blunt but practical: only use acetone if you are certain the cup’s material is acetone-resistant, such as PP or PE. Polycarbonate (PC), polystyrene (PS), or ABS plastics are particularly vulnerable to acetone, which can cause clouding, cracking, or edge deformation. For most everyday plastic cups, acetone poses more risk than payoff. If acetone is contemplated, test first on an inconspicuous spot, and if there is any adverse reaction, discontinue immediately.
The guiding framework also recognizes the importance of sequence. Start with warm water and mild dish soap to remove loose debris and softened uncured resin. If resin remains after that stage, move to isopropyl alcohol for cured residues. If stubbornness persists, try white vinegar as a milder, alternative solvent. Heat can be used sparingly as a last resort. Throughout, proceed with patience. Rushing can lead to scratches, warping, or incomplete resin removal, leaving a surface that invites future adhesion.
A practical, integrated routine for most cups unfolds as a six-step rhythm. Rinse the cup with warm water to clear loose particles. Apply isopropyl alcohol to the resin-stained area and let it penetrate for a short interval. Gently scrub with a soft brush or cloth, paying attention to crevices around the rim and any seams where resin could be trapped. Rinse again to remove liberated material and solvent. If any resin persists, soak the cup in a hot, soapy solution for a longer stretch, then attempt a careful scrape with a plastic tool. Finally, perform a second thorough rinse and dry completely. This rhythm minimizes the risk of surface damage while maximizing resin removal efficacy.
In this context, the choice of cup material matters, especially for anyone who repeatedly handles resin or similar substances. If you are shopping for future projects, you may want to explore cups made from materials with robust chemical resistance like PP or PE. A quick reference point is the broader product ecosystem that offers disposable clear plastic cups for various occasions—from casual gatherings to more formal events. See the disposable clear plastic cup product page for options that balance clarity, rigidity, and chemical resilience. disposable-clear-plastic-cup-outdoor-picnic-pet-cup-drinking-cup-for-parties-birthdays-weddings-camping-utensils. This link is provided to illustrate how cup material choices align with post-use cleaning realities, not as a recommendation for any single product.
No matter which path you follow, the final stage is essential: rinse thoroughly with clean water and dry completely. Residual solvent traces can attract dust and odors, and damp surfaces can foster mold in humid environments. Drying should be thorough, ideally with air drying in a warm, well-ventilated area or a clean towel that won’t shed fibers. A surface free of residue reduces future adhesion risk and preserves the cup’s clarity and integrity.
To help readers calibrate their expectations, baking soda paste offers an optional, mild abrasive approach if resin remains partially softened. Mix baking soda with water until you achieve a thick paste, apply it with a soft cloth, and gently rub in a circular motion. This method is not a replacement for solvents but a supplementary aid when resin is already softened or loosened. It provides an extra touch of mechanical action without introducing harsh abrasives that could scratch the surface.
Beyond the mechanical and chemical toolkit, there are broader best practices that contribute to successful resin cleanup. Acting quickly after a spill or curing event increases the likelihood of complete removal. The temporality of resin, the way it moves from a sticky state to a solid bond, defines how aggressive the intervention must be. The more you can prevent a resin film from ever fully setting on the plastic, the easier future cleanups become. Washing hands before handling cups, using trays or mats during resin work, and designating dedicated cleaning tools for resin-related tasks all help reduce the overall cleanup effort.
In terms of safety, the cognitive load is light but important. Work in a well-ventilated area since solvents can release fumes. Wear gloves to keep skin contact minimal, and consider eye protection if you anticipate splashing or splattering when scraping or scrubbing softened resin. If you notice any plastic stress or clear signs of deformation, stop and reassess the method. The science supports this approach: resins can become more aggressive as they harden, and some combinations of resin and plastic interact in surprising ways. The most reliable path is to proceed conservatively, escalate only when necessary, and always prioritize the integrity of the cup.
The narrative above does not merely catalog steps; it captures a philosophy of care. Resin on plastic cups is a problem of stubborn adhesion rather than an unbeatable barrier. A blend of warmth, patience, and measured chemical intervention can restore the cup’s surface and extend its usable life. The approach is iterative, not annihilative: test in a corner, apply a small amount of solvent, observe, and repeat if needed. This approach respects the plastic’s limits while acknowledging resin’s stubborn tenacity.
As you put these practices into daily routines, you might also reflect on the value of preserving simple, reusable tools. A plastic cup that has withstood resin exposure can continue serving as a craft, lab, or observational aid with careful cleaning. The small ritual of cleaning becomes an act of stewardship—protecting resources, reducing waste, and supporting safer, more mindful experimentation. The shared thread through uncured and cured resin is that success rests on choosing the right tool for the current condition and applying it with care.
External resource and further reading can offer deeper nuance on resin behavior and solvent interactions. For a detailed, professional take on removing resin from plastic, you can consult a widely cited guide that broadens the context beyond cups to plastic surfaces generally. The information below complements the practical steps outlined here and can help you refine your technique for other resin-cleaning scenarios. https://www.thesprucecrafts.com/how-to-remove-resin-from-plastic-4158944
Final thoughts
Maintaining the cleanliness of your plastic cups is vital for any beverage service provider. Uncured and cured resin both present unique challenges, but with proper techniques and tools at your disposal, you can effectively manage these issues. Our focus on safety and best practices further ensures that your cleaning efforts do not compromise the quality of your serving items. Keeping your station tidy not only enhances the dining experience for your customers but also reflects your professionalism in the beverage industry.